

Overview
A Data Feed brings external data into a Workspace so Studio apps can use it. Feeds are built through a dedicated Composer — describe the API in natural language, and Composer scaffolds the request, authentication, pagination, and schema mapping.Composer-driven
Describe the source in natural language — no API client to wire up by hand
Auth & pagination handled
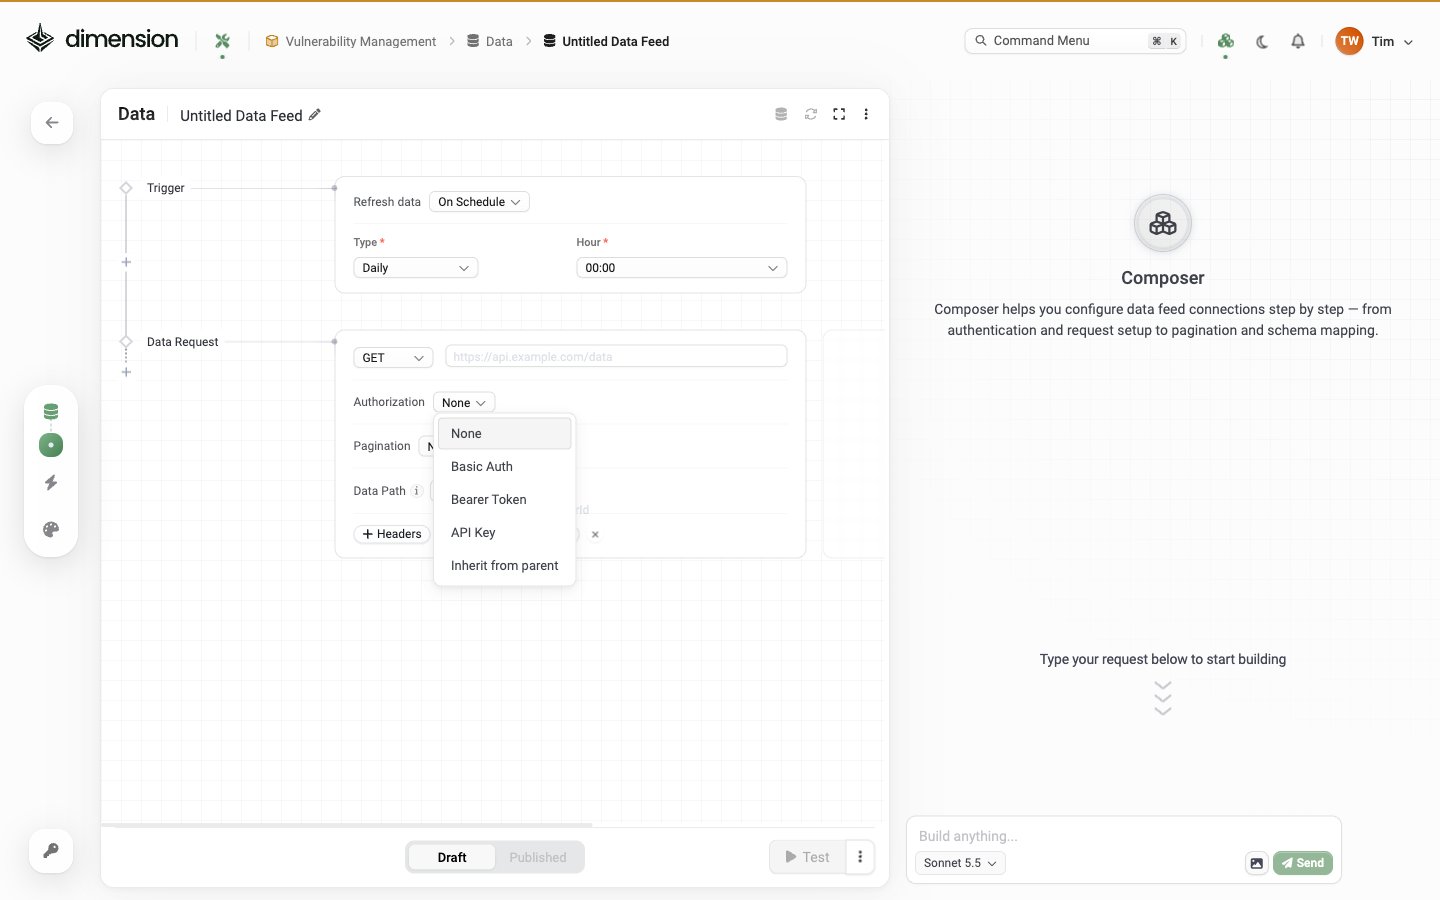
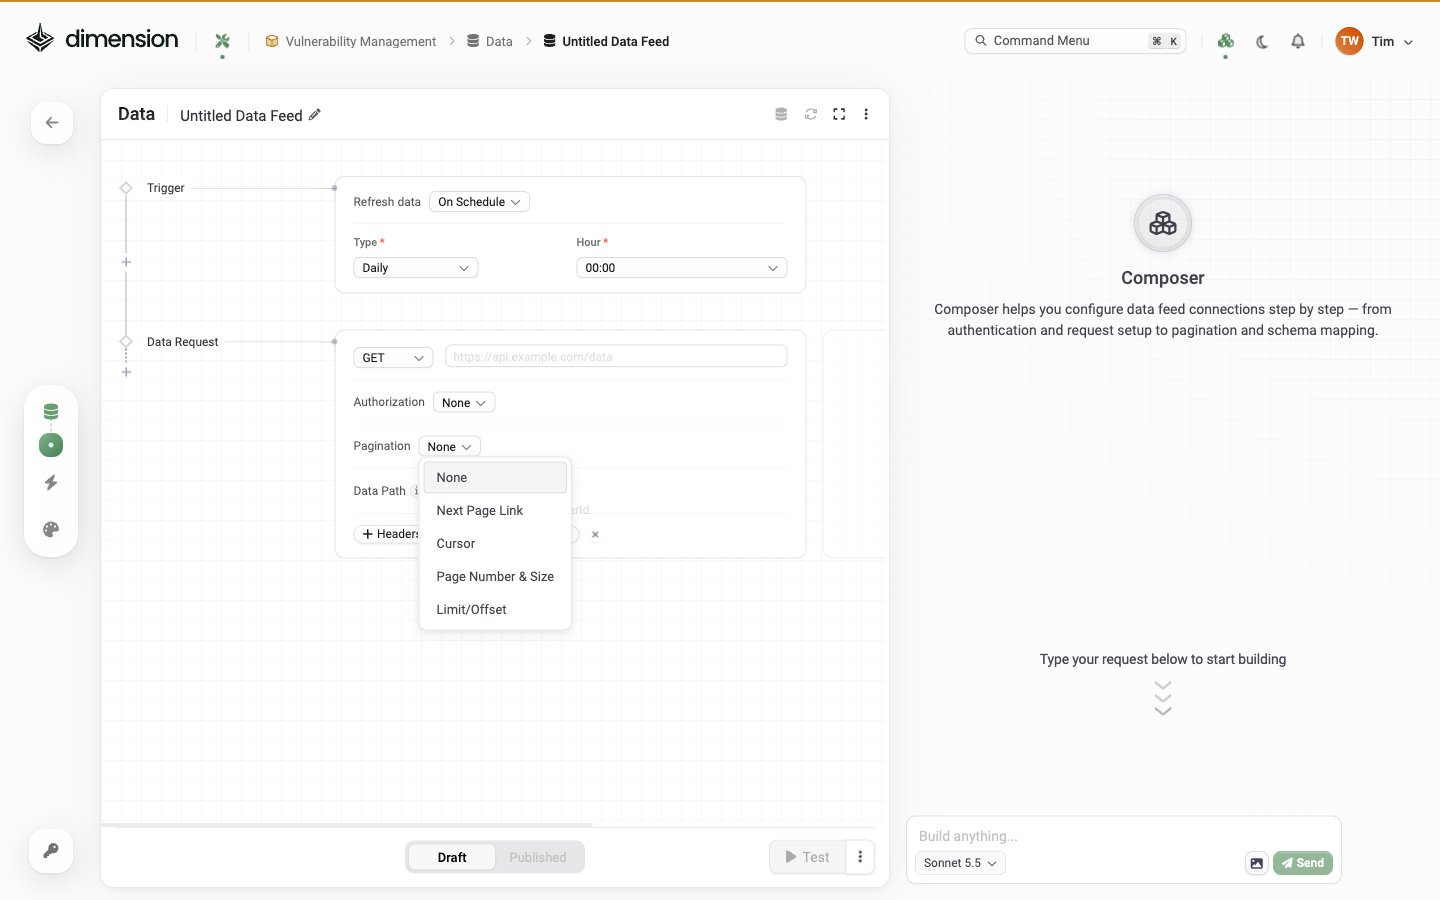
Bearer tokens, API keys, Basic Auth, OAuth — plus Next Page Link, Cursor, Page Number & Size, and Limit/Offset paging patterns
On-demand or scheduled
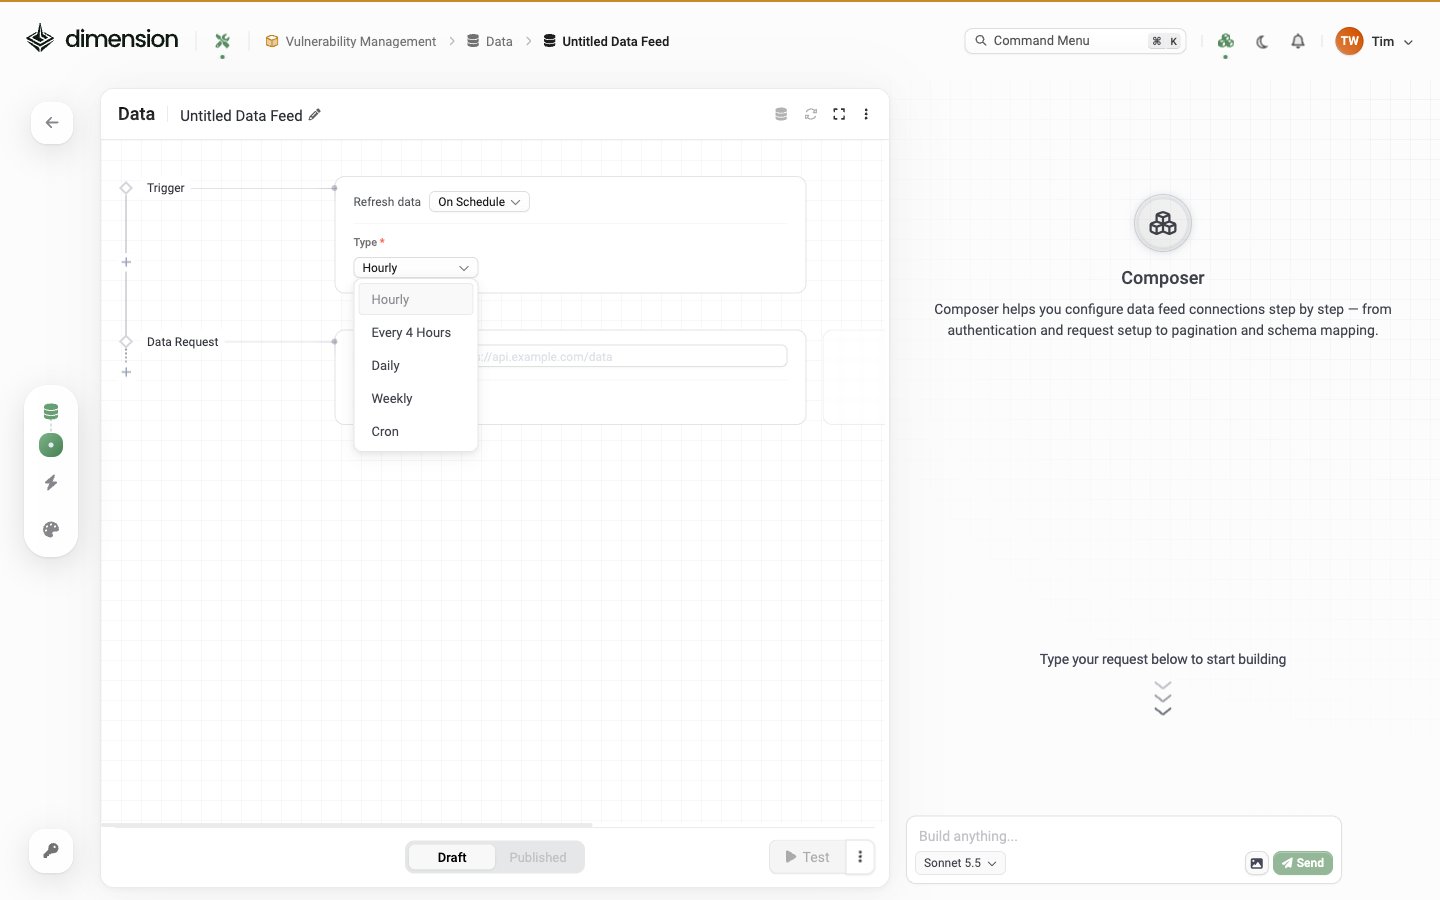
Refresh on demand or on Hourly, Every 4 Hours, Daily, Weekly, or Cron schedules
Creating a Data Feed
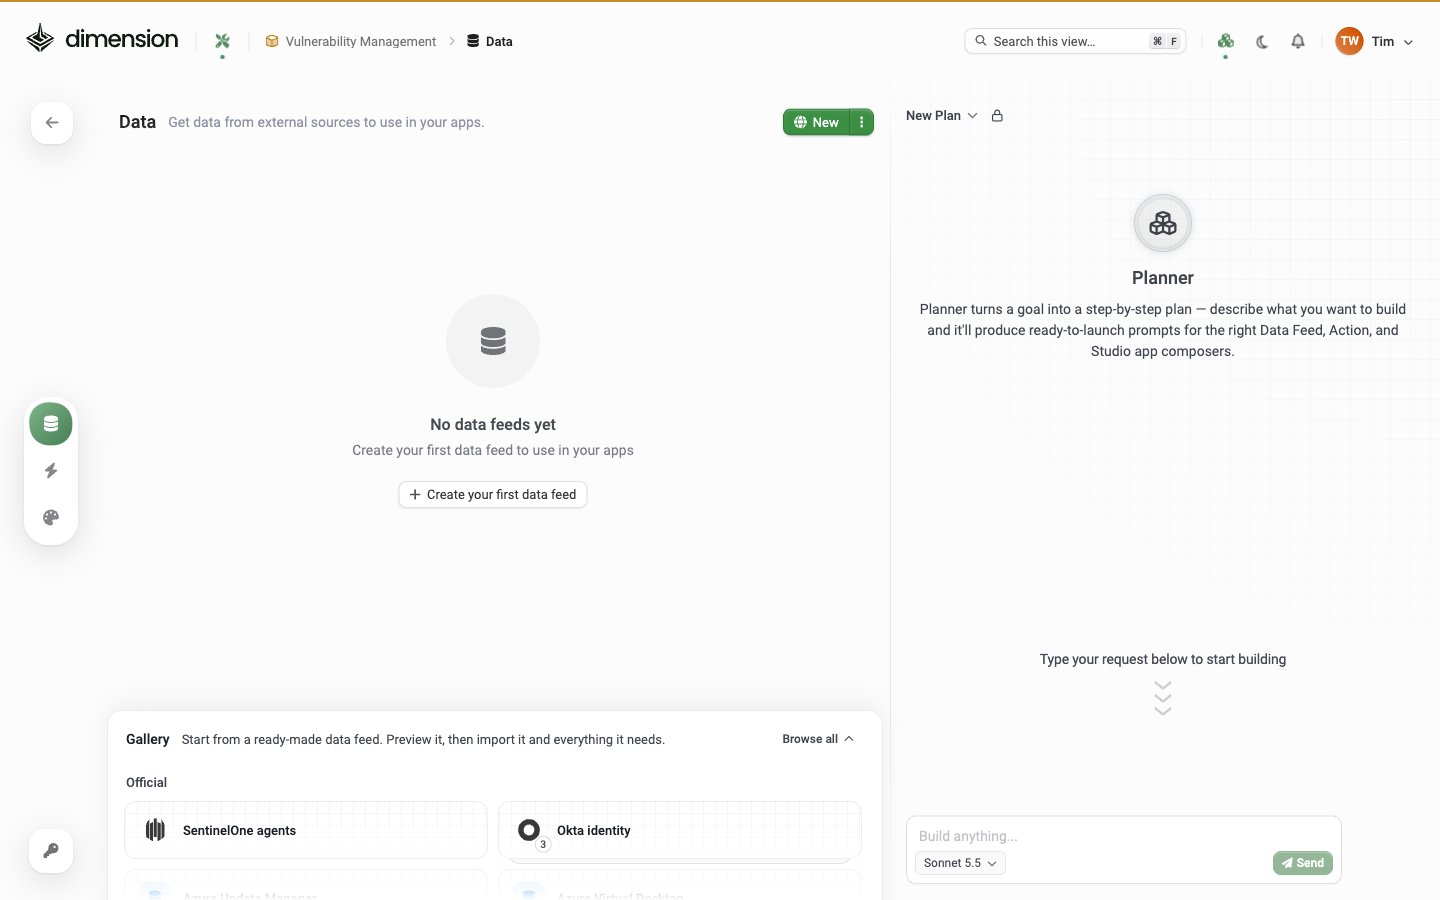
In Builder Mode, open Connect Data (the database icon in the left rail) and click + New to open the Data Feed editor. The first time you create one you’ll see a 3-step inline tutorial overlay.Step 1 — Connect to any data source
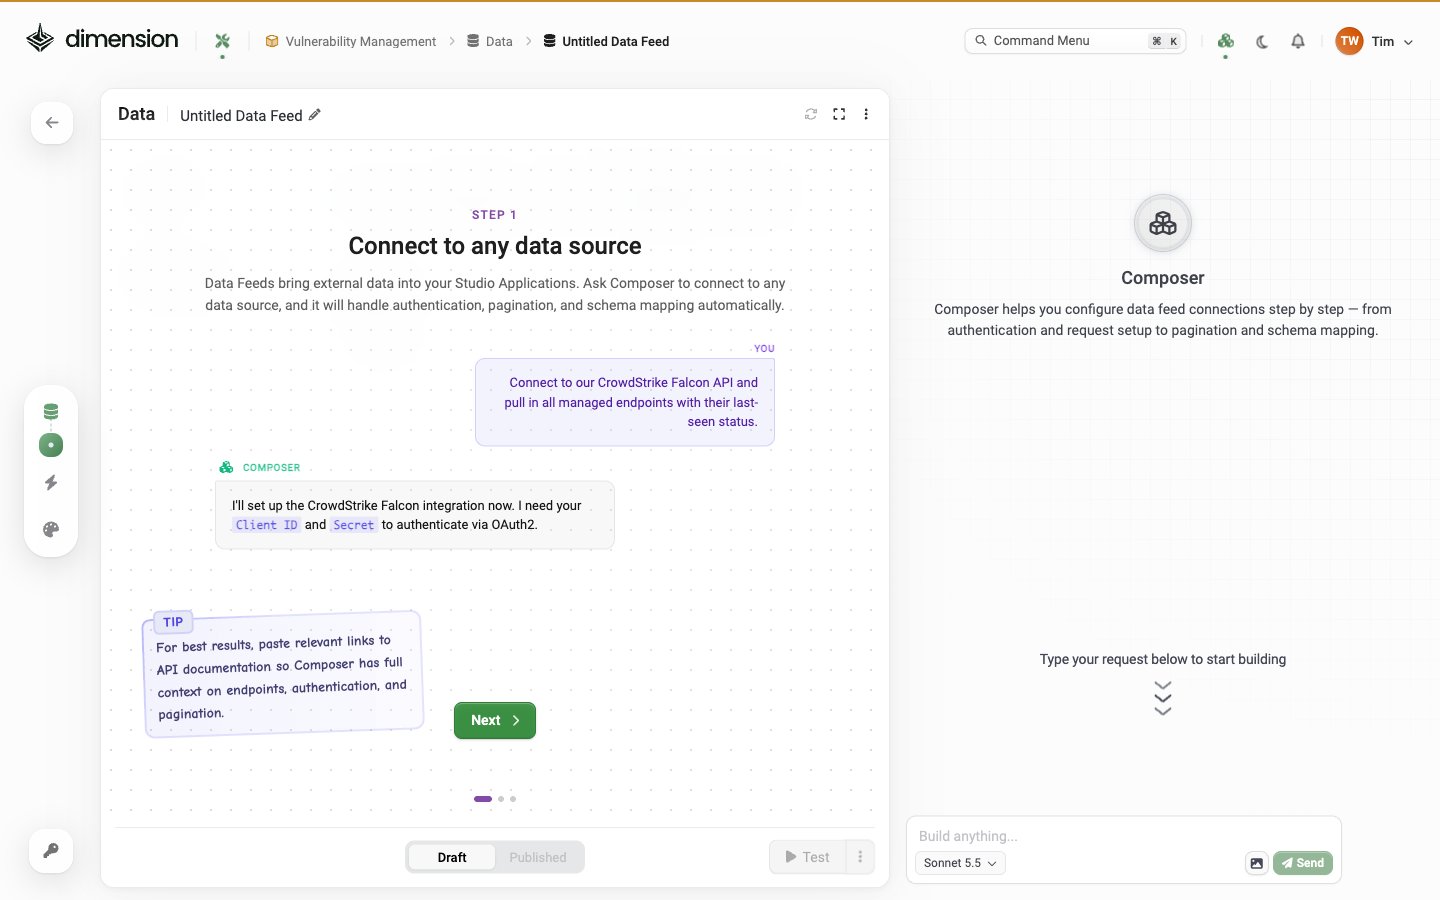
- A natural-language prompt: “Connect to our CrowdStrike Falcon API and pull in all managed endpoints with their last-seen status.”
- Composer’s response asking for the right credentials (Client ID + Secret for OAuth2)
Step 2 — Authenticate & Validate
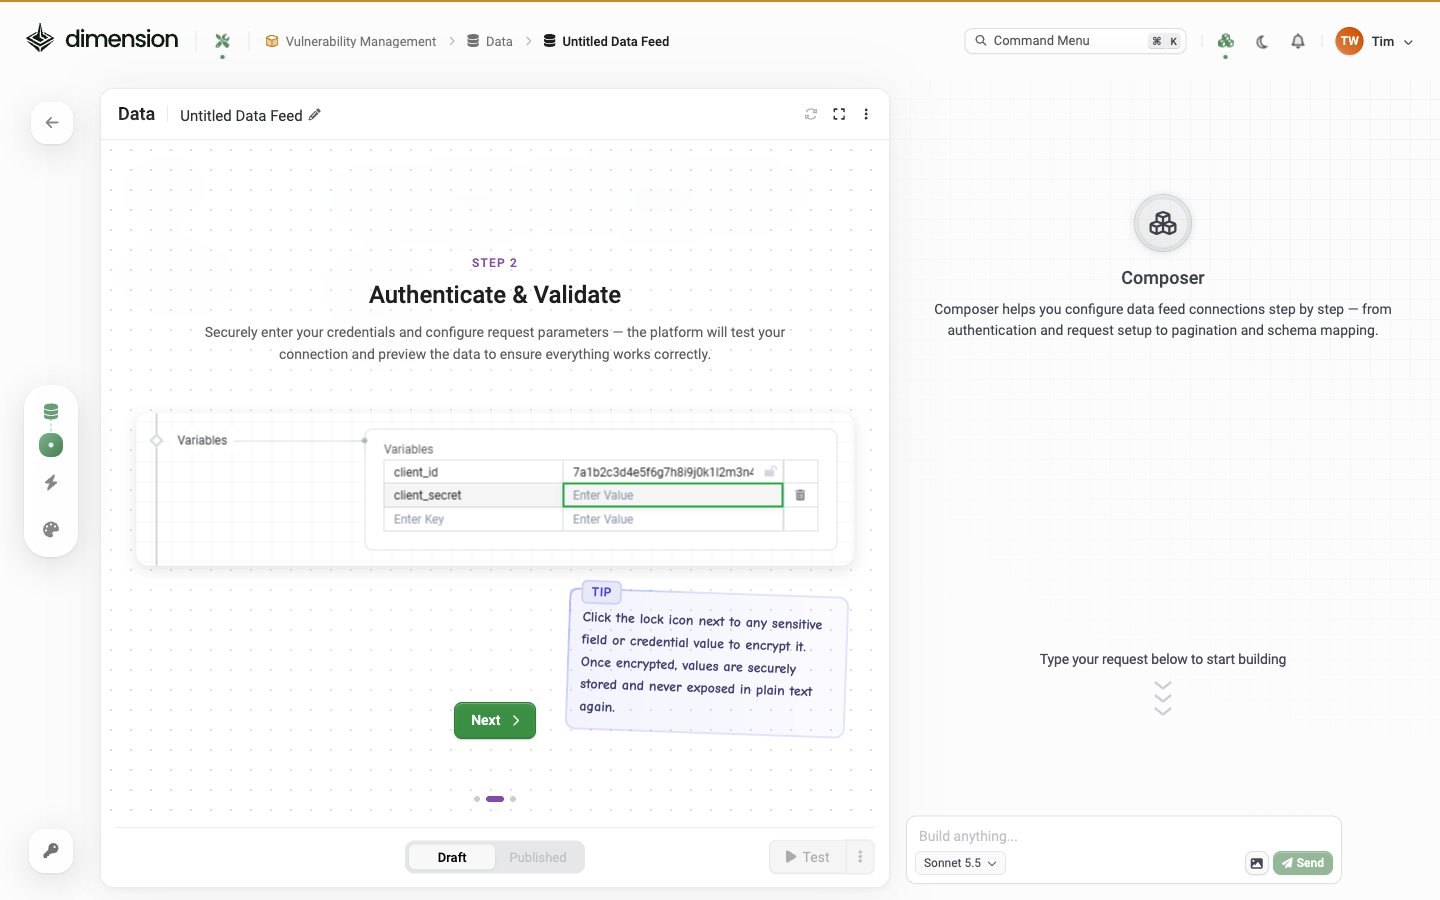
“Click the lock icon next to any sensitive field or credential value to encrypt it. Once encrypted, values are securely stored and never exposed in plain text again.”Encrypted values are stored in your tenant’s secret store and never echoed back into the Composer chat.
Step 3 — Publish and Enrich
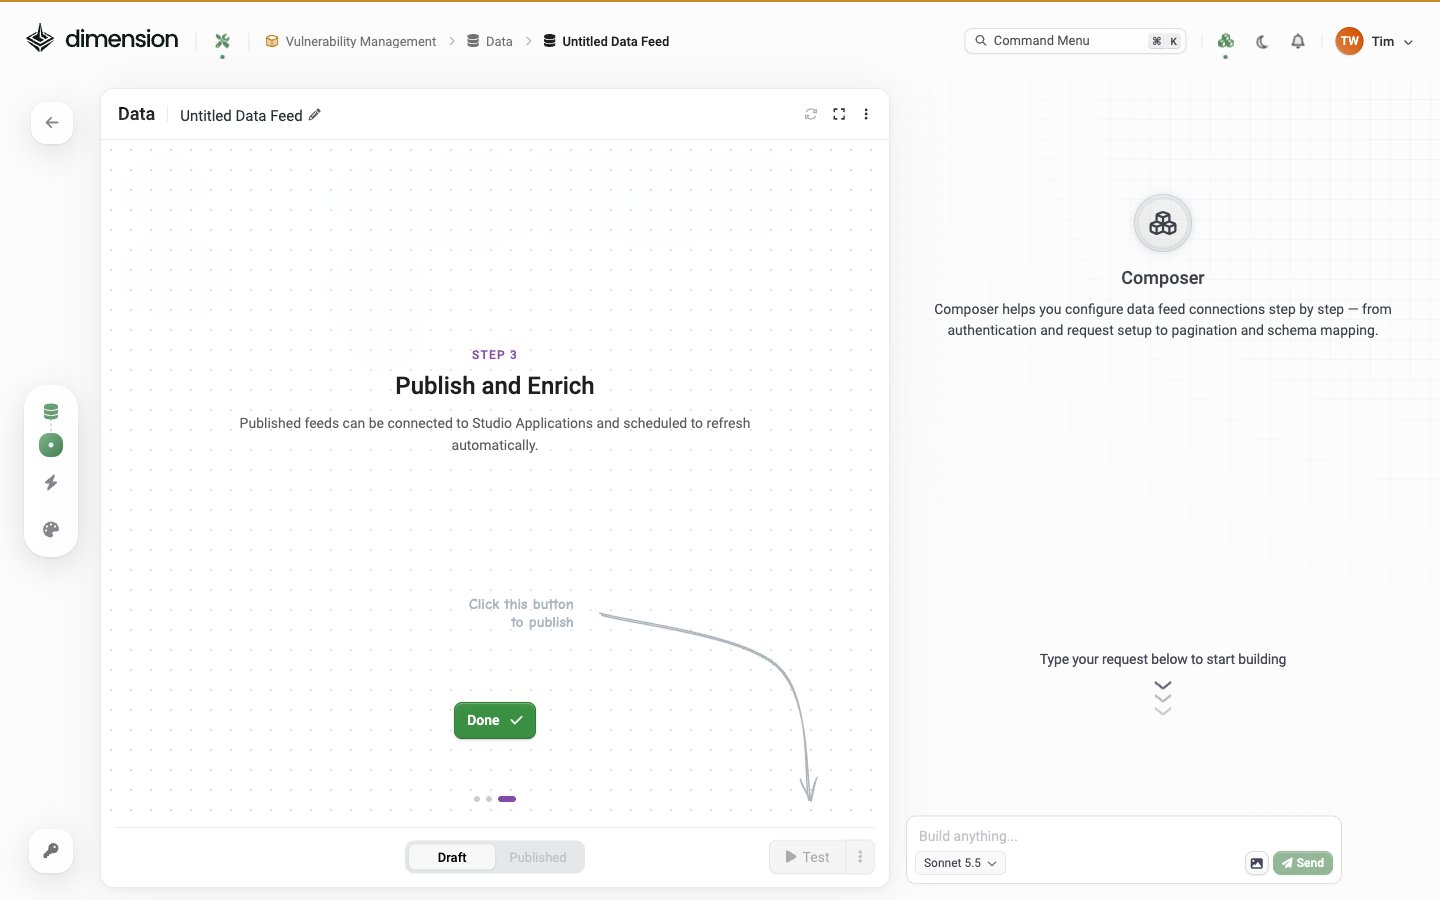
“Published feeds can be connected to Studio Applications and scheduled to refresh automatically.”Click Done to dismiss the tutorial and arrive in the full editor.
The Data Feed editor
After the tutorial, the editor opens with a blank request flow: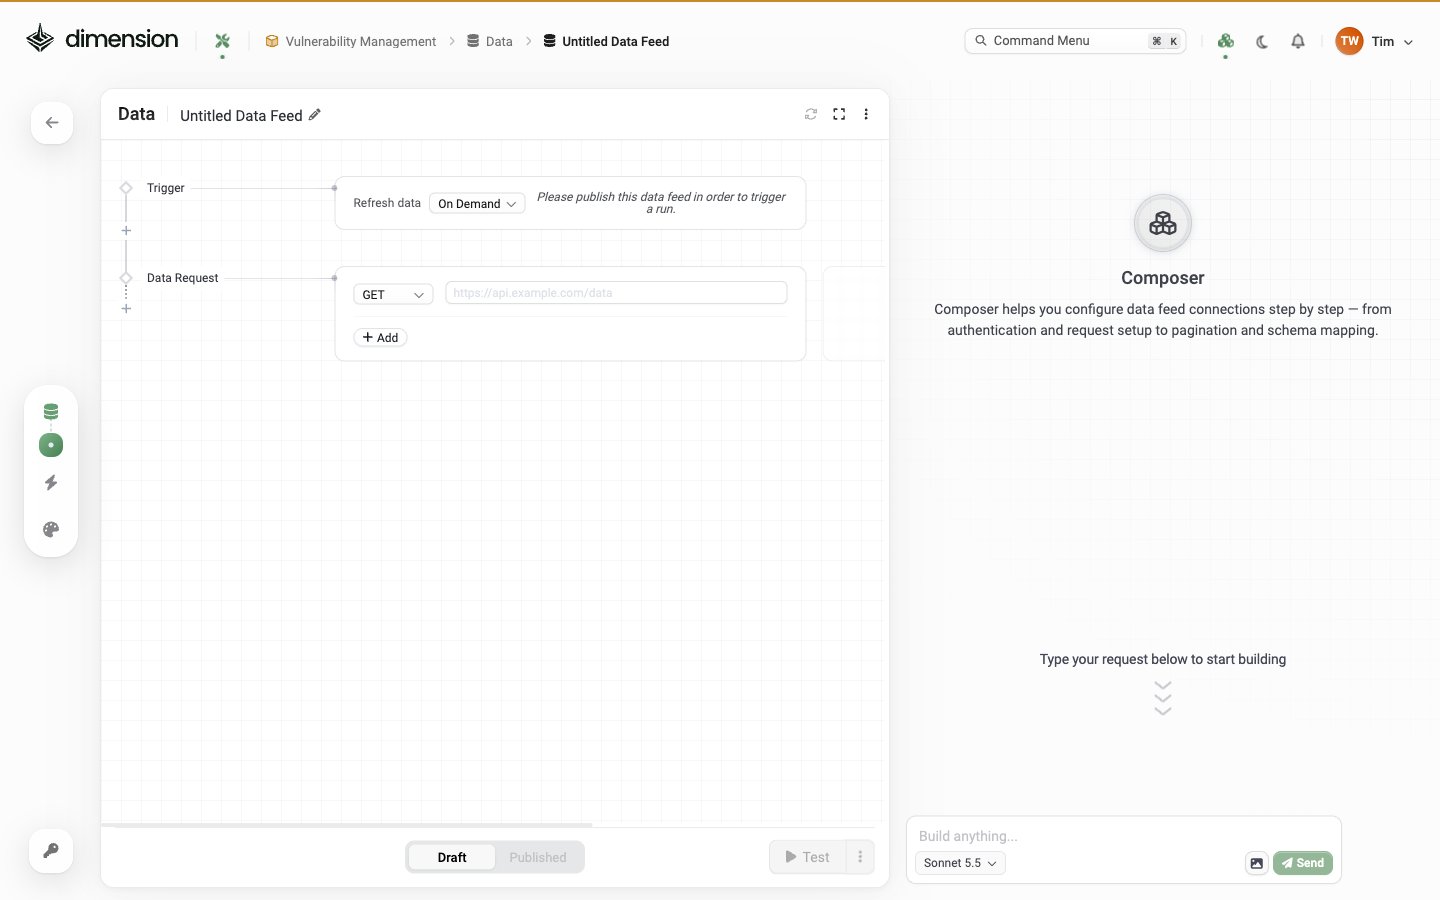
- Trigger — controls when the feed runs
- Data Request — the primary HTTP request
- Detail Request (optional) — a secondary request that runs once per ID returned by the primary
Trigger node
The Trigger controls refresh cadence:
When set to On Schedule, a Type dropdown appears:
Data Request node
The primary request. Pick an HTTP method and a URL: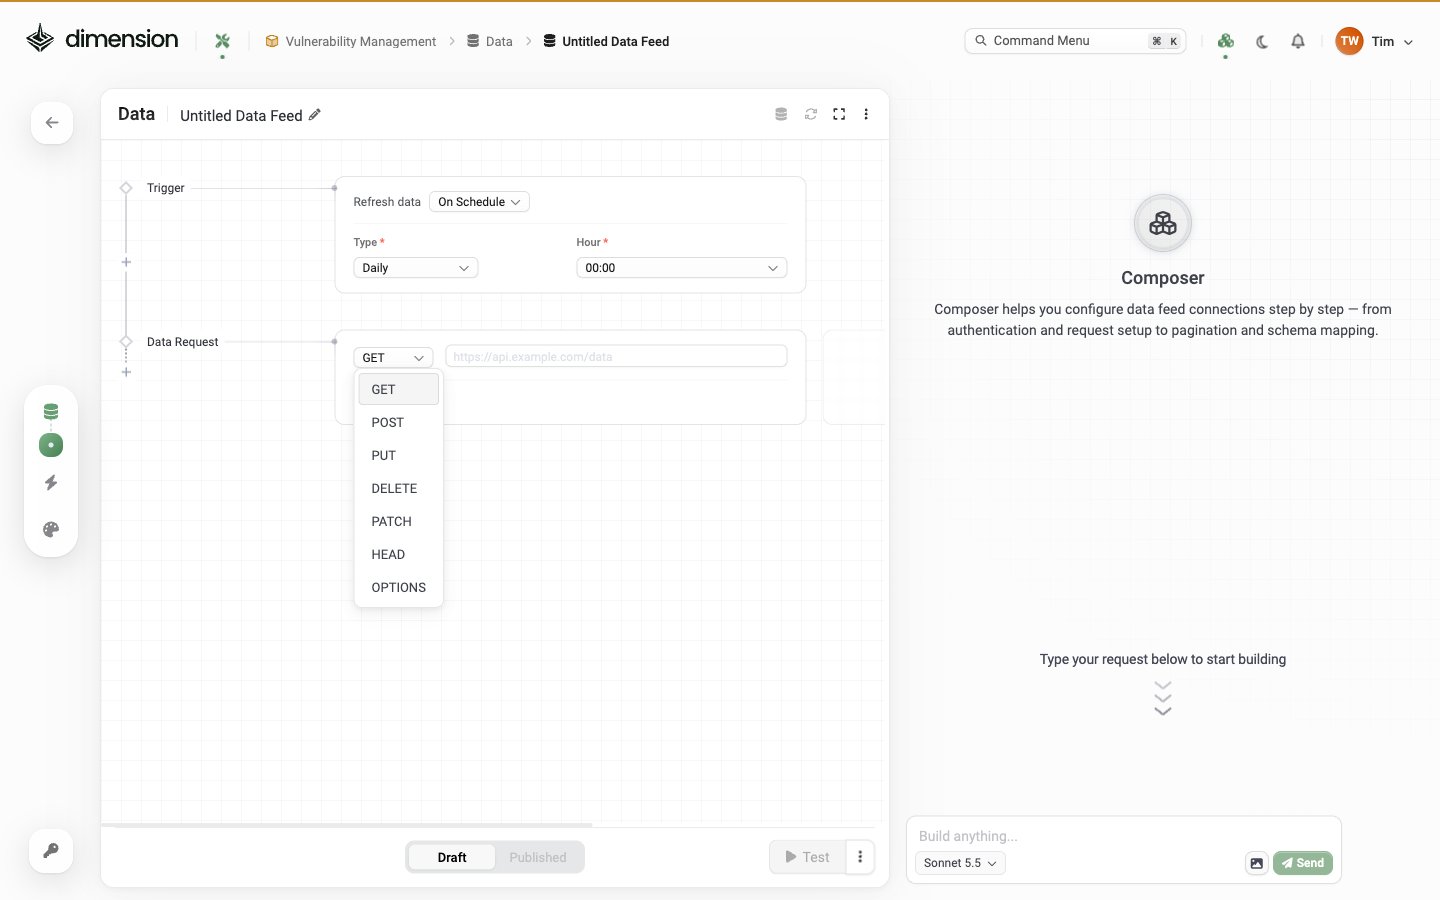
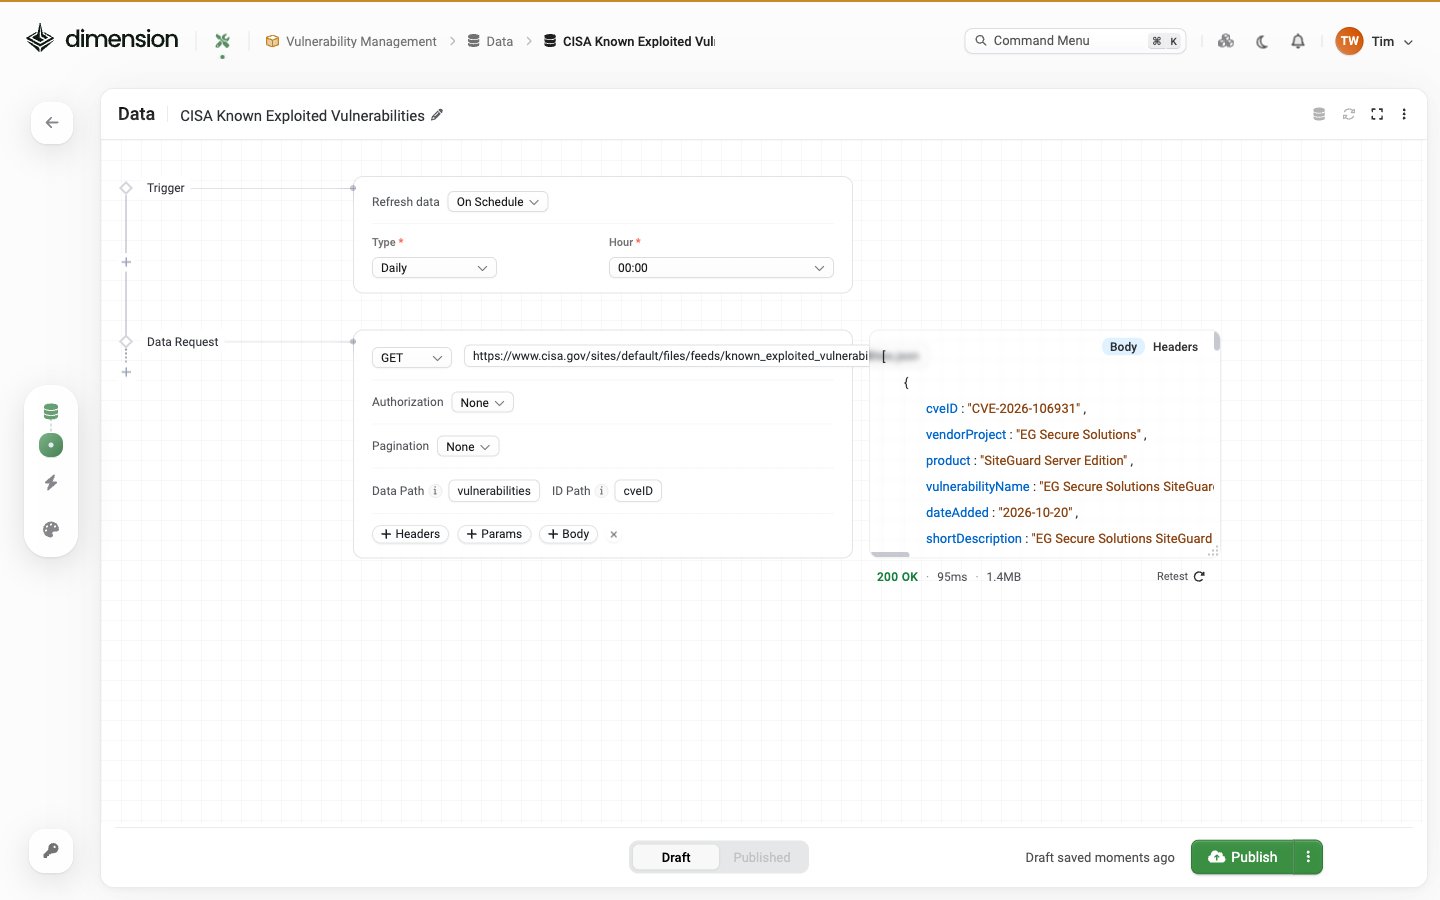
A typical configured Data Request looks like:
Adding sections. A fresh Data Request shows the method picker, URL field, and a single + Add button. Use + Add to attach Headers, Authorization, Pagination, Params, Body, Data Path, ID Path, or Capture Variables. The × button on any added section removes it.
Authorization options
Pagination patterns
Detail Request node (optional)
Use a Detail Request when the primary endpoint returns a list of IDs and you need per-record data from a second endpoint: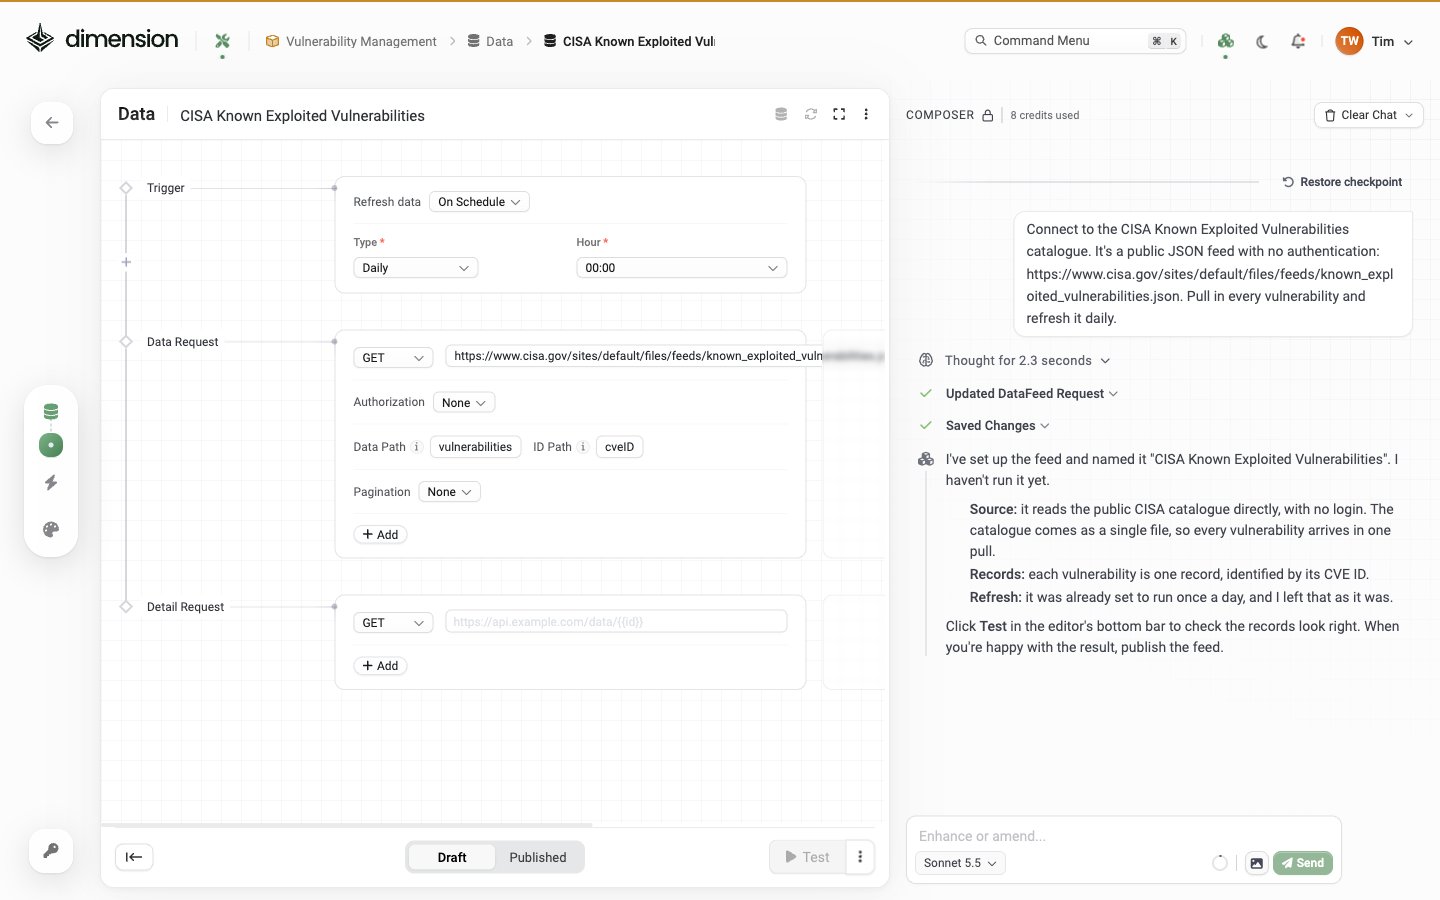
{{id}} (from the ID Path). You can also expose more captured variables via the Capture Variables section on the primary request.
This is the classic “list + detail” pattern — fetch a list of object IDs, then fetch each object’s full payload.
Test panel
Below the request canvas, the Test button runs the full Data Feed end-to-end against your live credentials and shows the response inline — status code, headers, payload preview. Use this to validate before publishing. The test runs against your Draft version. Test failures don’t affect Published feeds in any way.The Data Feed ⋯ menu
The ⋯ icon at the top-right of the Data Feed editor reveals:Advanced submenu
Where Feeds appear
After publishing, a Feed shows up in:- The Data Feeds counter on the workspace overview
- The Data Feeds tab in the left rail (database icon)
- The Data sources picker inside the Studio editor when building an app
Explore further
Data Sources
Common source patterns: REST APIs, OAuth2, file-based, webhooks
Schema & Fields
How Composer infers the schema and how to refine it
Sync & Freshness
Schedules, on-demand refresh, and troubleshooting stale data
Privacy: When using Data Feeds with the Studio Composer, the AI only sees the schema (field names, types) — never your actual data values. See Security & Privacy.