Settings sits outside any Workspace — it’s the tenant-wide configuration for your Dimension deployment. Anything you change here affects all workspaces.

Opening settings

Three routes:
  • User menu — click the avatar in the top-right → Settings
  • Command Menu (⌘K) → any Settings entry routes you straight to that sub-page
  • Direct URL — for example /settings/usage, /settings/users or /settings/audit-log. Each page’s URL is in the table under Settings sidebar
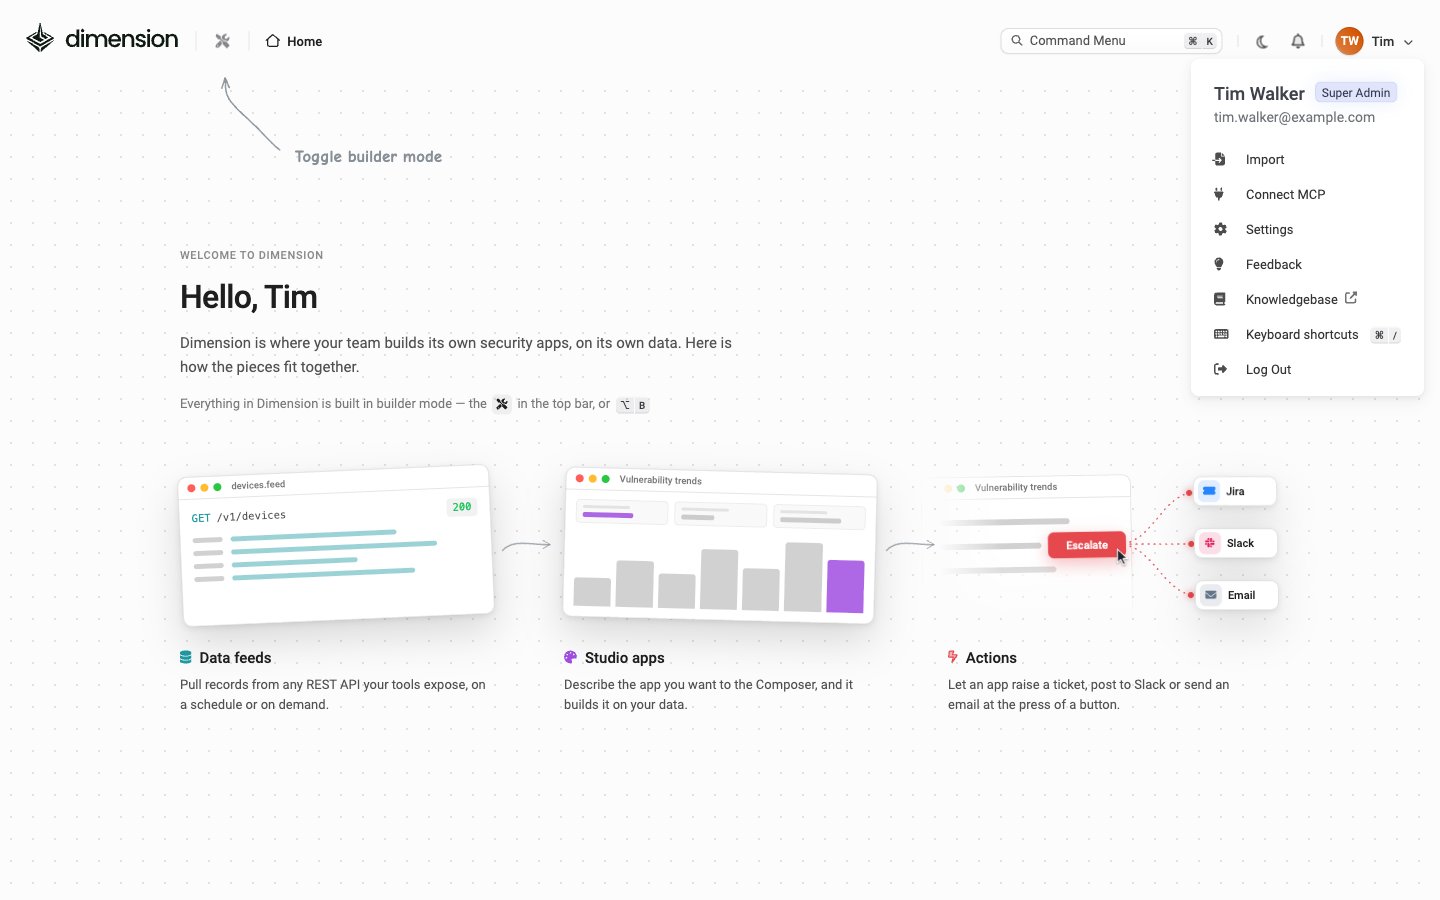
User menu opened from the avatar: the user's name, email and Super Admin badge, followed by Import, Connect MCP, Settings, Feedback, Knowledgebase, Keyboard shortcuts and Log Out The user menu also exposes utilities that sit outside Settings proper:

Import

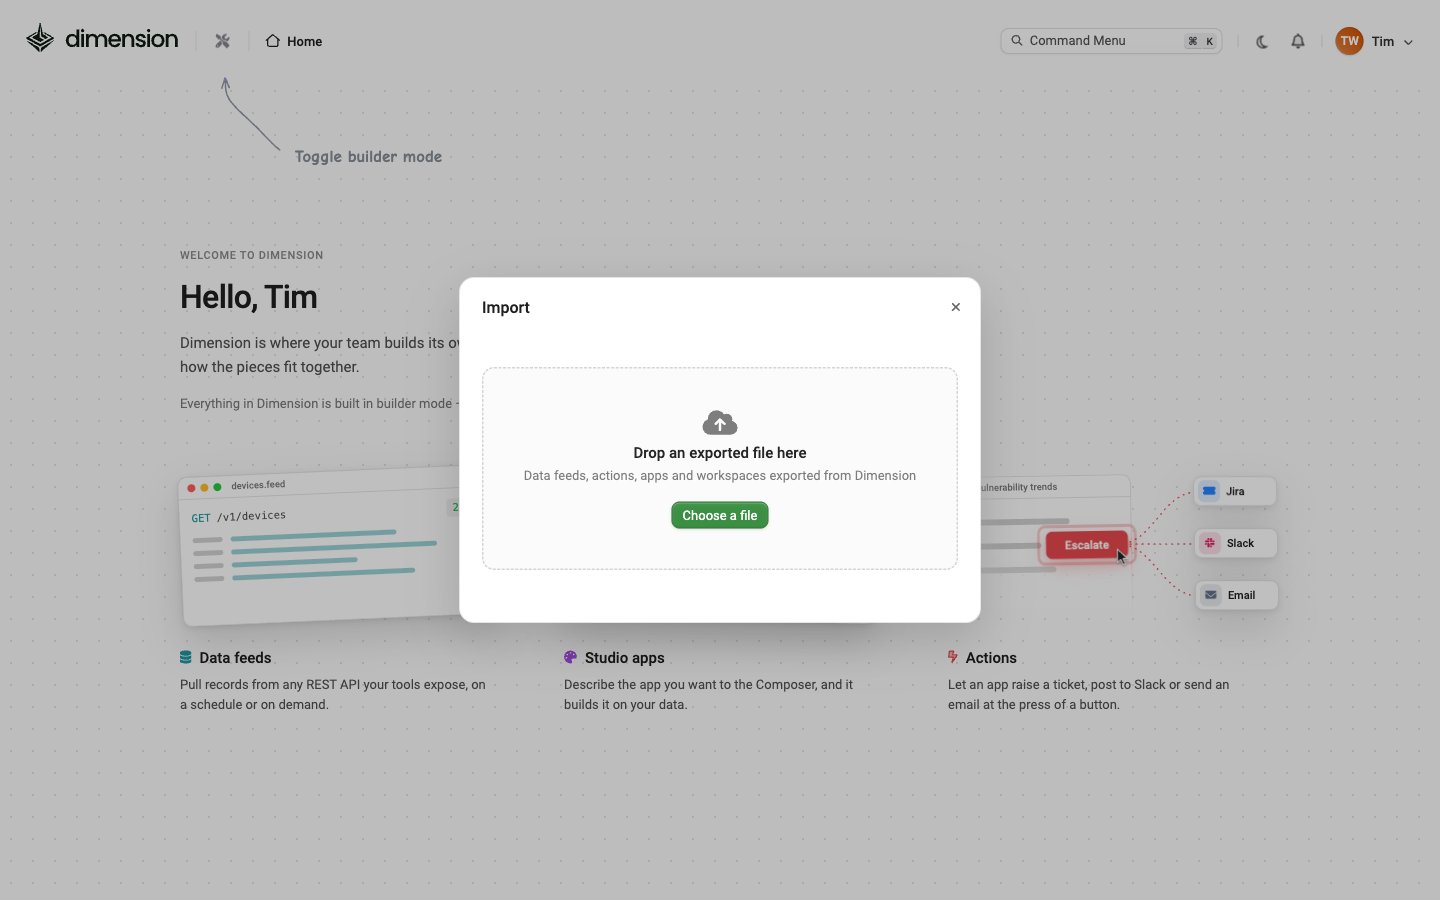
Import dialog with a Drop an exported file here drop zone for data feeds, actions, apps and workspaces exported from Dimension, and a Choose a file button Drop a file onto the dialog or click Choose a file. It accepts data feeds, actions, apps and workspaces exported from Dimension, for example with the Studio editor’s ⋯ → Advanced → Export menu. An export bundles the item’s source, schema and any wired-up dependencies into a single portable file. Use Import to:
  • Move an app from a personal workspace into a shared one
  • Promote an artefact from a dev tenant into production
  • Share an app with a colleague at a different tenant (they import your exported file)
  • Restore an accidentally-deleted artefact from a backup
Workspace targeting. Imports land in the currently-active workspace. Switch workspaces before importing if you want the artefact somewhere specific.

Settings sidebar

The left rail lists every Settings page. User Management and Logs expand to show their pages, and User Settings (your own preferences) sits at the bottom:

Usage

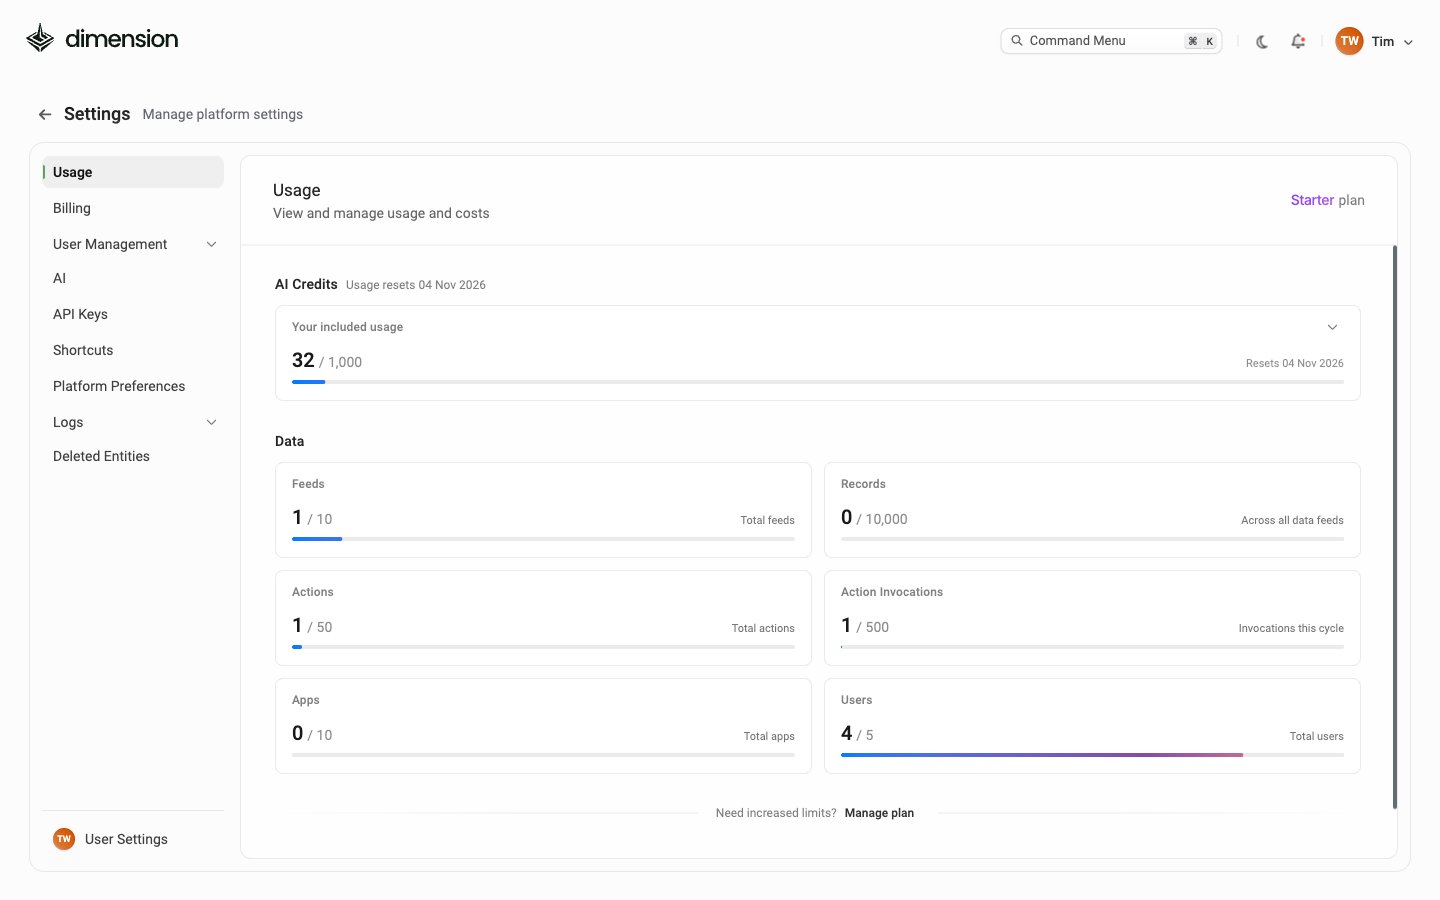
Settings Usage page with the Starter plan label, AI Credits (Your included usage 32 / 1,000, resetting on a set date), and Data counters for Feeds, Records, Actions, Action Invocations, Apps and Users, with a Manage plan link Tracks consumption against your billing period: Your plan (for example Starter) shows at the top right. AI Credits shows your included usage and the date it resets; open it to see the available credit packages. Each meter shows current usage / quota. To raise your limits, click Manage plan at the bottom of the page.
AI Credits don’t roll over. Whatever isn’t consumed by the end of your billing period resets to your plan allowance. Plan large generation work earlier in the period.
AI

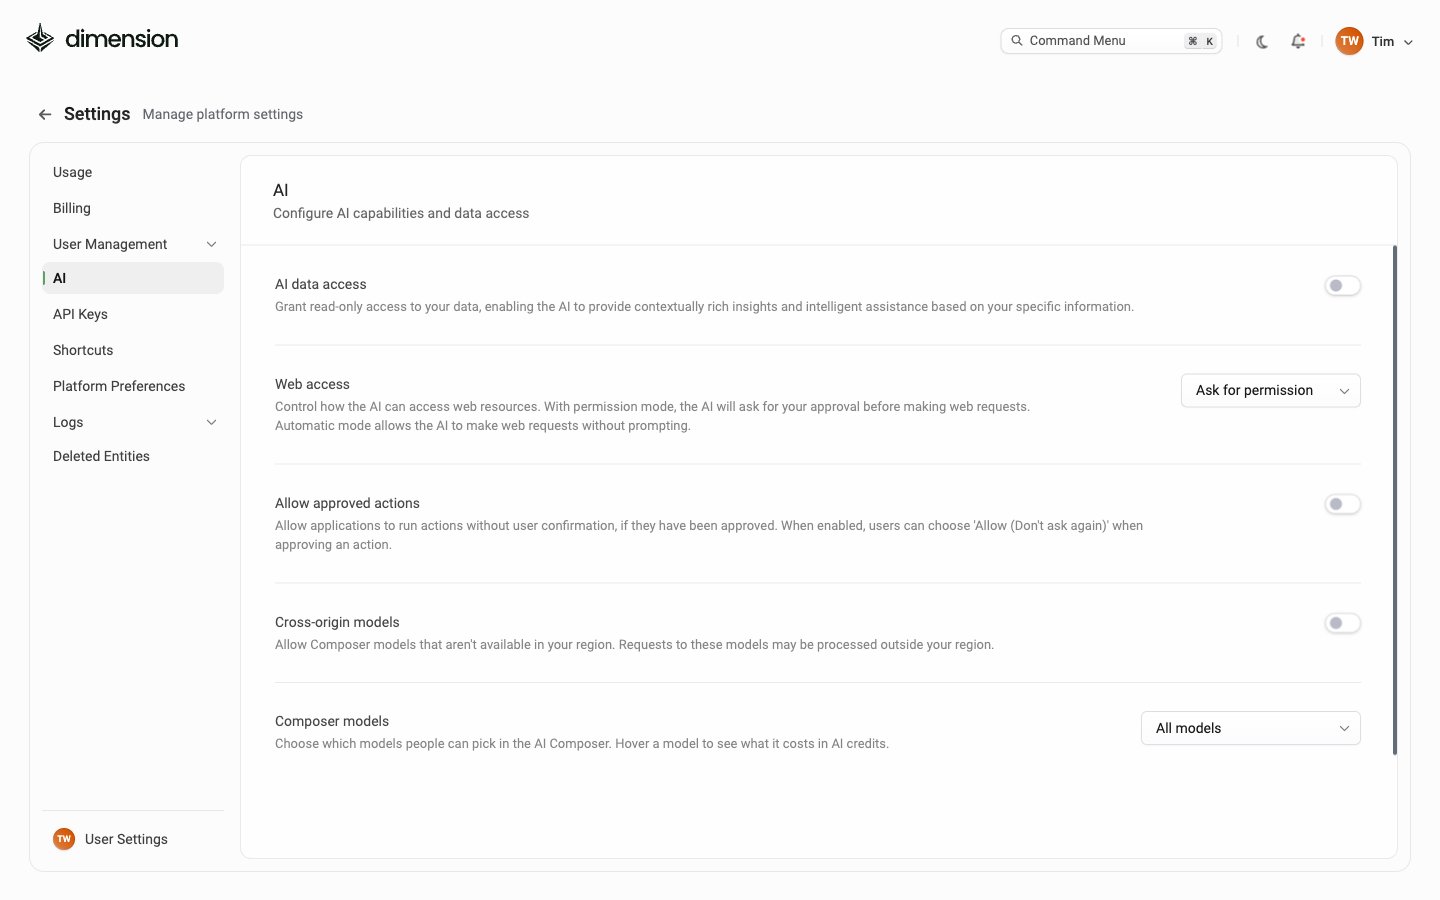
Settings AI page with AI data access, Web access (Ask for permission), Allow approved actions and Cross-origin models, each with a description, and Composer models set to All models Tenant-wide AI controls. These apply to every Composer invocation in every workspace.
AI data access is the highest-impact setting on this page. Turning it on lets the AI read the actual values in your security data for use in prompts and generated code. Most teams leave it off and rely on schema-only generation; turn it on only after reviewing your data-handling policies.

Shortcuts

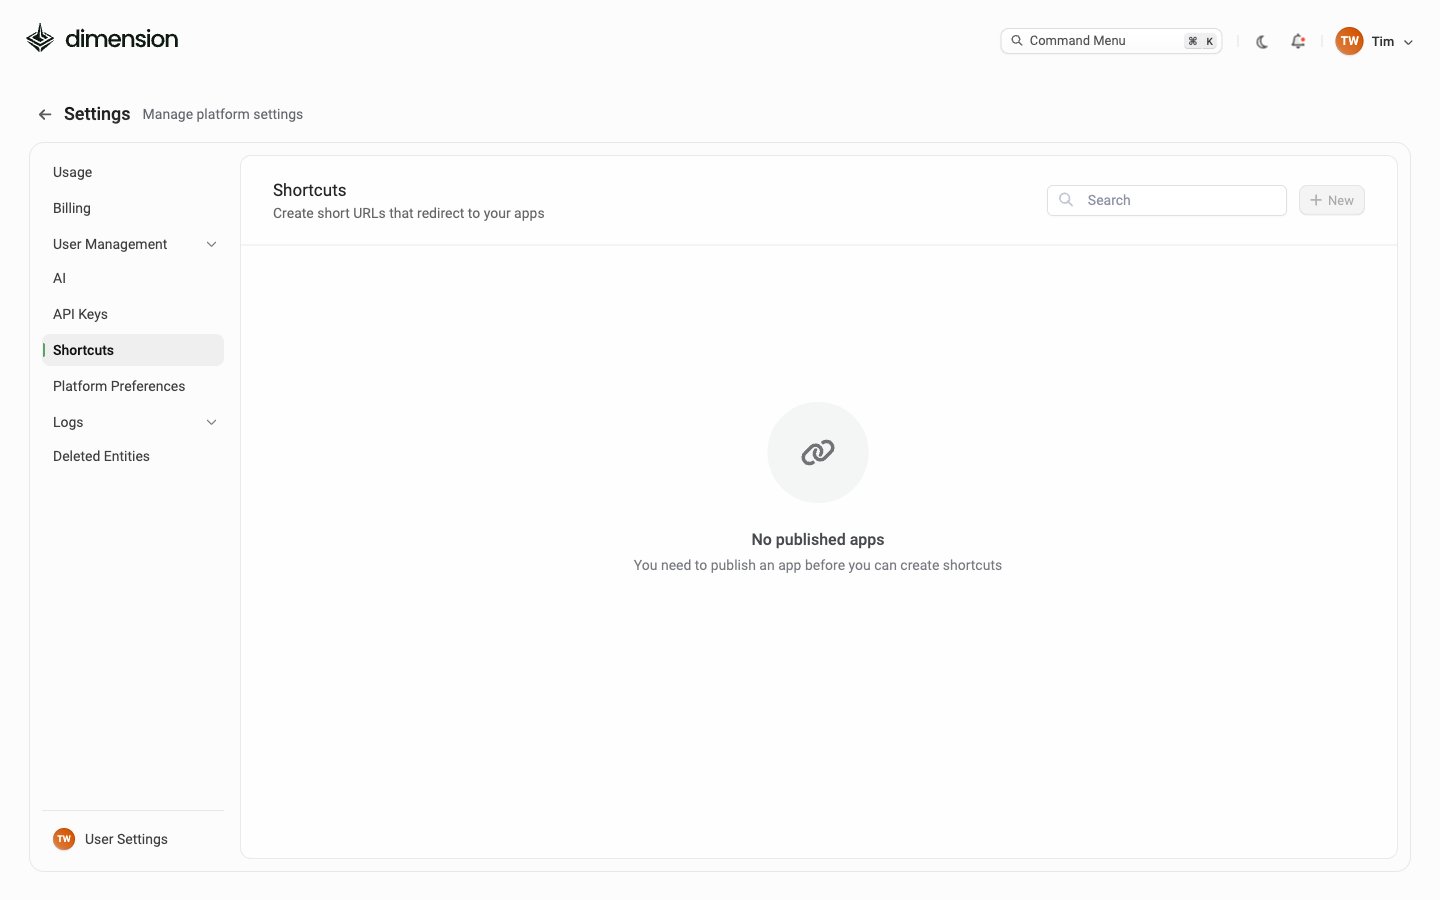
Settings Shortcuts page, Create short URLs that redirect to your apps, with a Search box, a disabled New button, and the empty state No published apps, You need to publish an app before you can create shortcuts Create short URLs (under your tenant’s gallery host) that redirect to specific Published apps. Useful for bookmarks, executive emails, and external links. Shortcuts require a Published app to point at — the empty state nudges you to publish first.
Shortcuts are auto-created on publish. When you click Publish on a Studio app, Dimension automatically creates a Shortcut with the app’s name as the slug. The same record is exposed in the editor’s ⋯ → Share URL dialog — editing the URL there updates this Shortcut.A confirmation fires in the Notifications panel: “Updated Shortcut — Shortcut saved successfully.”
Not keyboard shortcuts. This menu item is URL shortcuts. Keyboard shortcuts in Dimension are ⌘K (Command Menu), ⌘F (Search this view), Esc (close panels), and standard browser shortcuts.

User management

The User Management group expands to four pages: Users, Teams, Roles and SSO.

Users

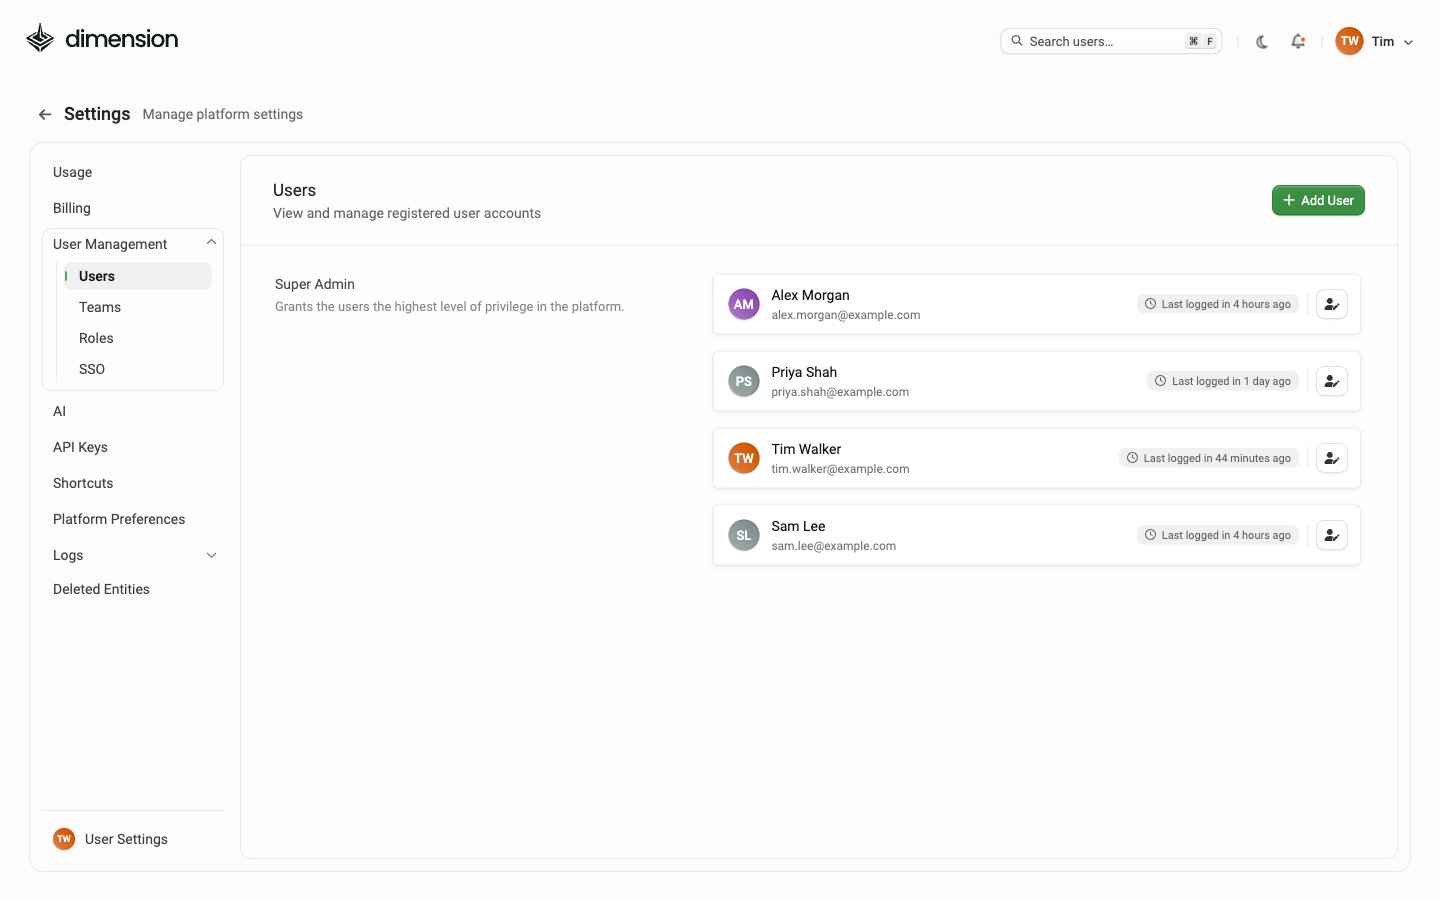
Users tab grouped by role: a Super Admin section listing four users, Alex Morgan, Priya Shah, Tim Walker and Sam Lee, each with an @example.com email and a Last logged in time, with an Add User button in the top right Users are grouped by their assigned role. Each user row shows:
  • Name and email
  • When they last logged in
  • An edit button — change role, deactivate, etc.
Click + Add User (top right) to invite a new user by email and assign a role. The Search users… box in the header (⌘ F) filters the list.

Teams

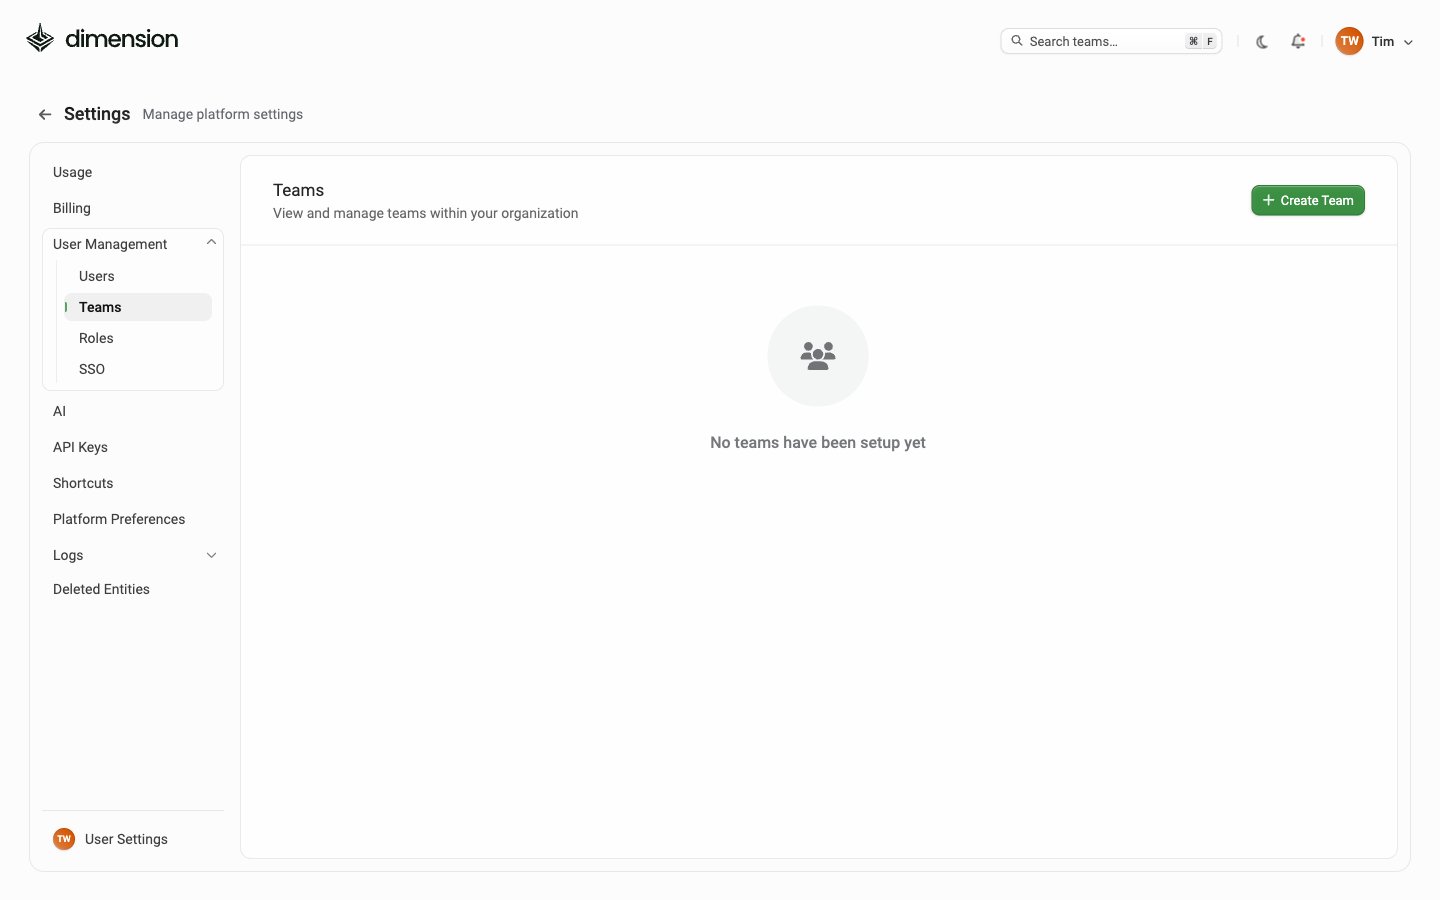
Teams tab showing the heading View and manage teams within your organization, a Create Team button, and an empty state, No teams have been setup yet Teams are named groups of users you can grant workspace access to. Click + Create Team to define a team and assign members. Once at least one Team exists, the Team option becomes available in the workspace visibility dropdown — useful for “this workspace is for the SecOps team only” scenarios.

Roles

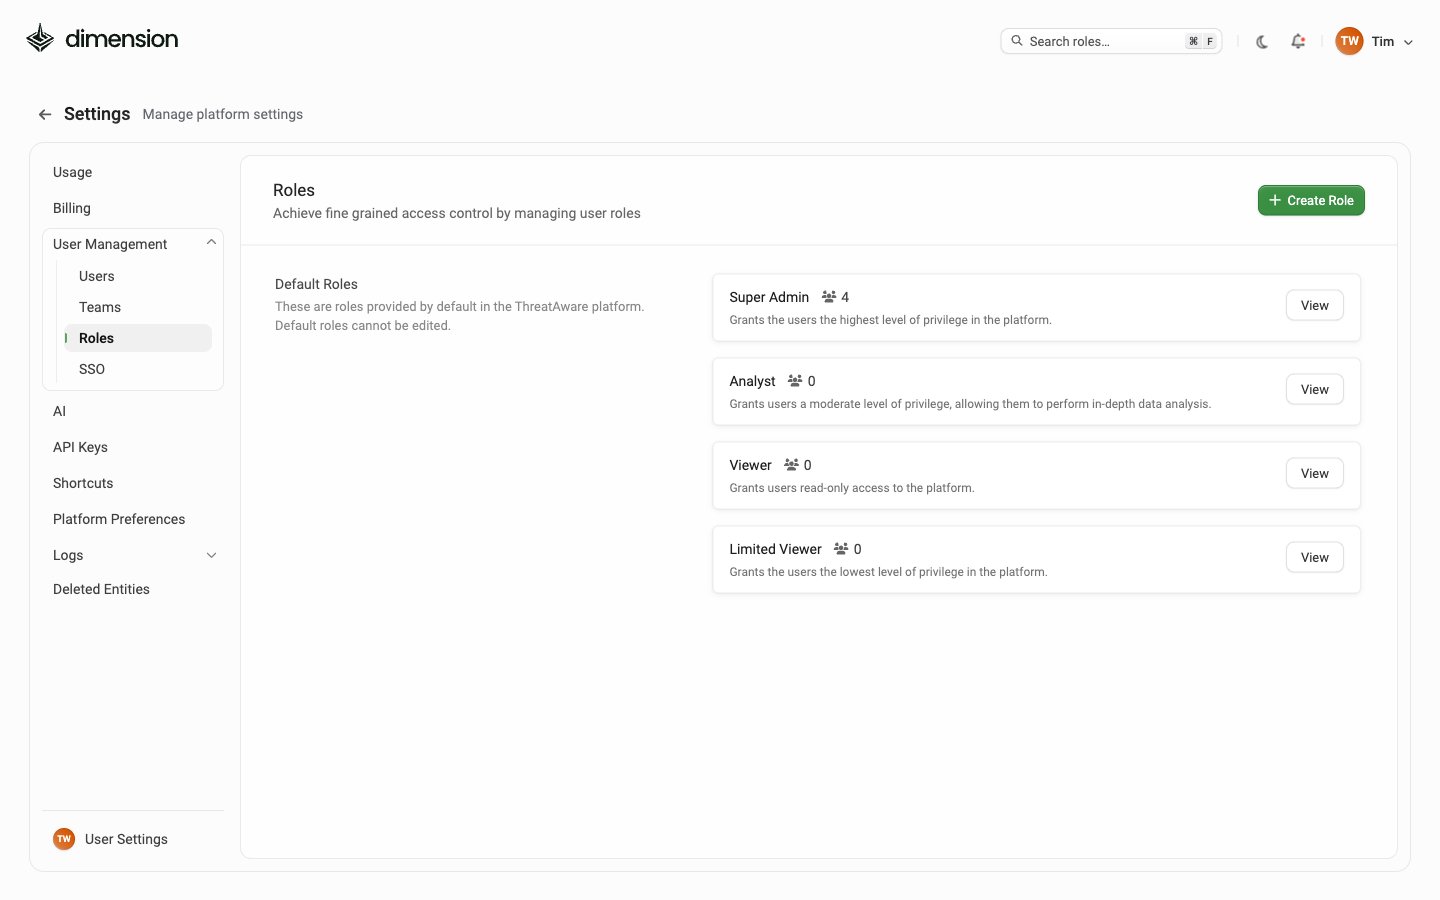
Roles tab showing a Default Roles section (Default roles cannot be edited) with four built-in roles: Super Admin (4 users), Analyst (0 users), Viewer (0 users) and Limited Viewer (0 users), each with a View button, plus a Create Role button in the top right Four built-in roles ship by default and cannot be edited: Click + Create Role to define a custom role with fine-grained permissions. Custom roles are fully editable. These are platform roles. Each workspace also has its own roles (Manager, Operator, Viewer), set in the workspace’s Access list.

SSO

Configure single sign-on for your tenant under User Management → SSO.

API Keys

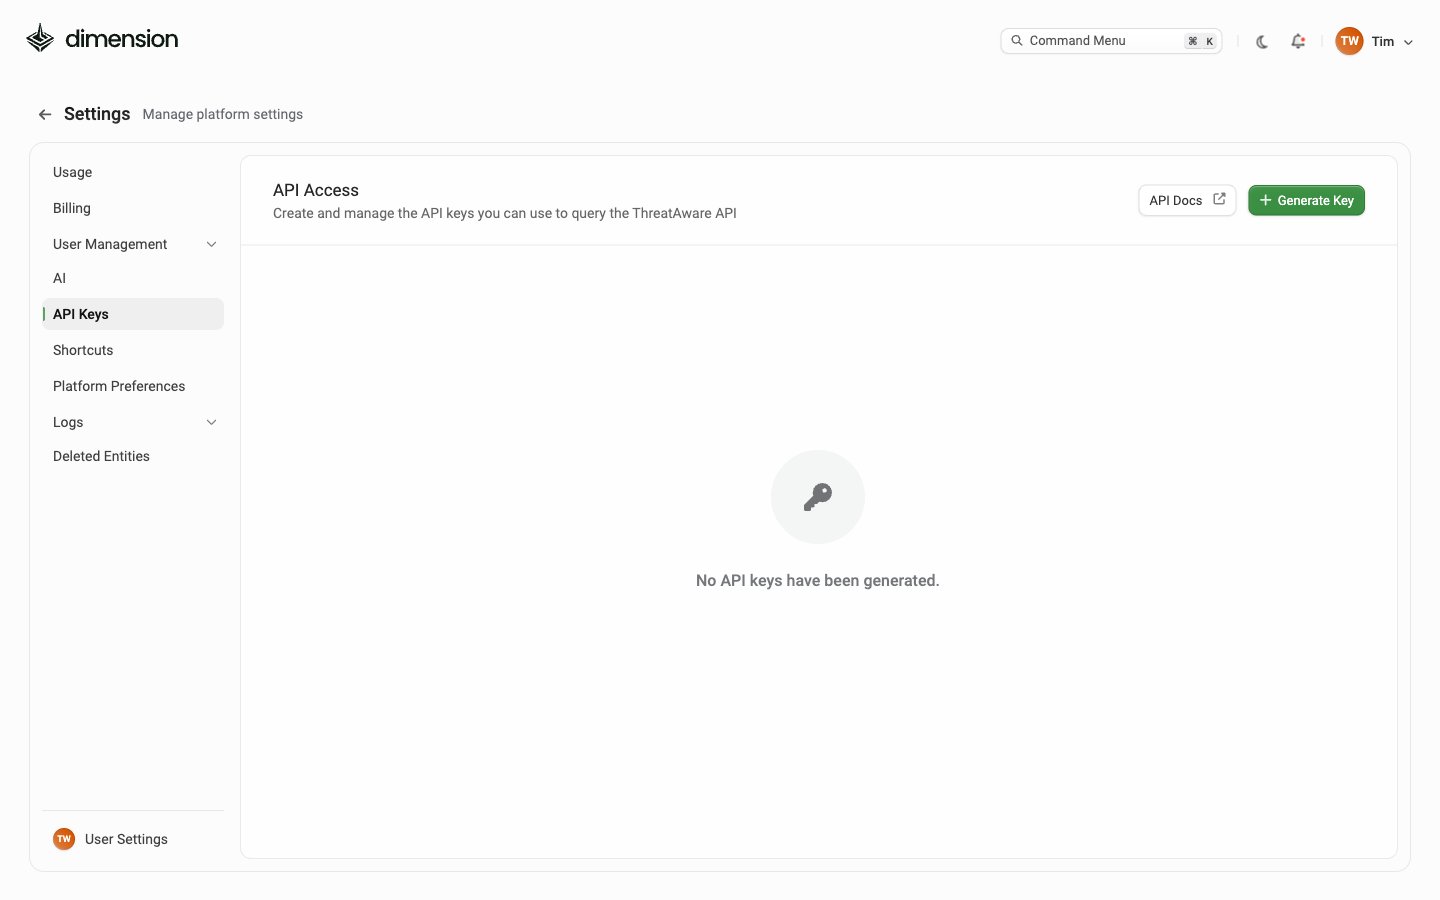
API Access page: Create and manage the API keys you can use to query the API, with API Docs and Generate Key buttons and the empty state No API keys have been generated Create and manage API keys. Click + Generate Key to create one.
Dimension doesn’t have a public API yet. It’s coming soon, and this page will link to its documentation when it’s available.

Platform Preferences
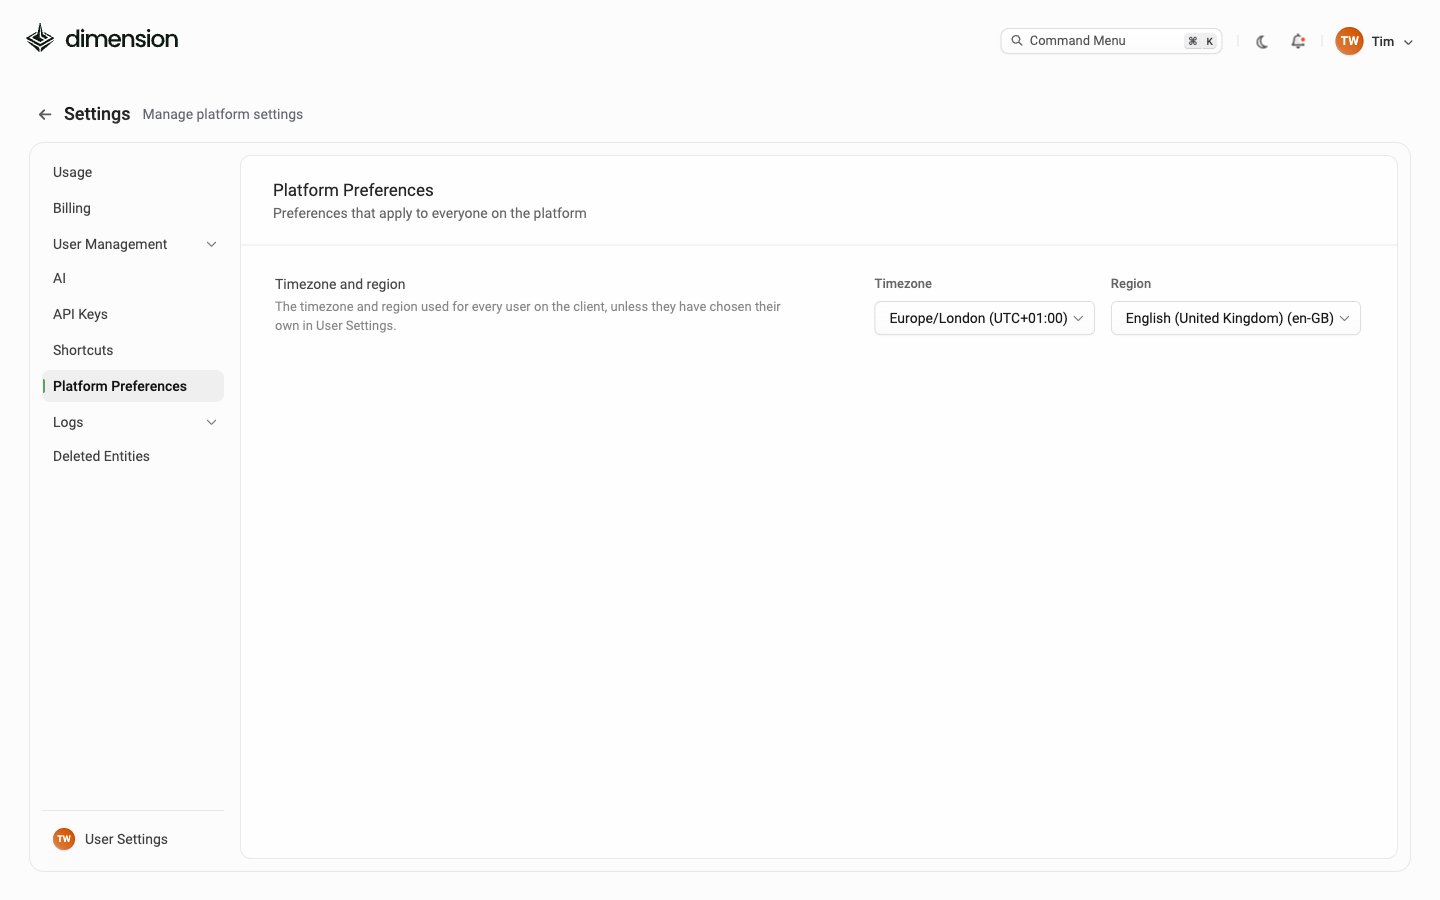
Platform Preferences page: Preferences that apply to everyone on the platform, with Timezone and region set to Europe/London (UTC+01:00) and English (United Kingdom) (en-GB) Sets the Timezone and Region used for every user, unless they’ve chosen their own in User Settings.

Logs

The Logs group expands to two pages: Audit Log and Request History.

Audit log

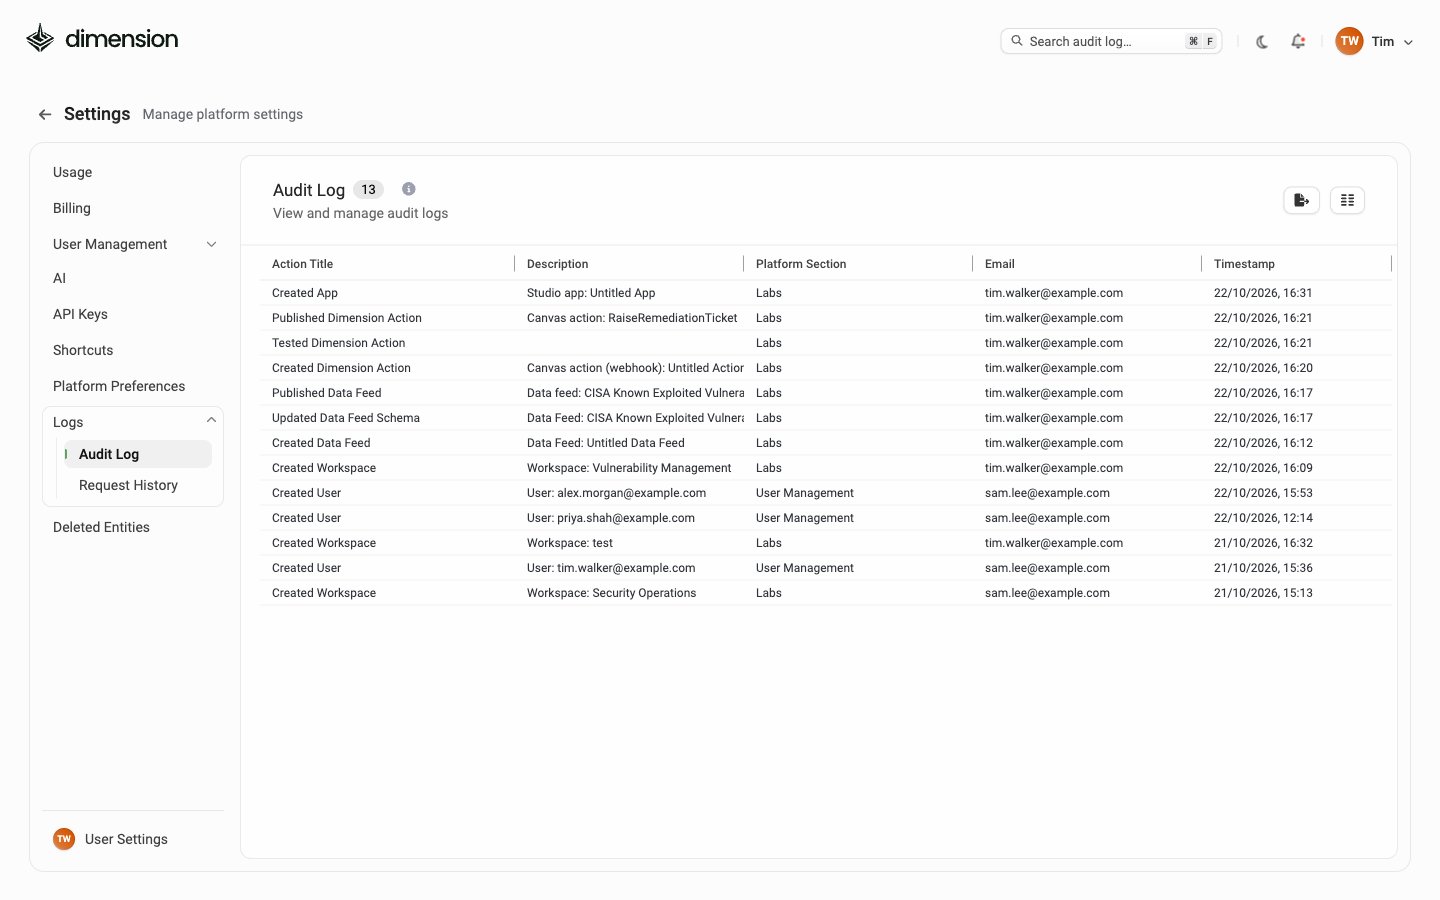
Audit Log page listing 13 events with columns Action Title, Description, Platform Section, Email and Timestamp, including Created App, Published Dimension Action, Tested Dimension Action, Created Dimension Action, Published Data Feed, Updated Data Feed Schema, Created Data Feed, Created Workspace and Created User Every platform event lands here. Columns: A counter next to the heading shows the total recorded events. The Search audit log… box in the header filters by any column, and the buttons at the top right export the log and choose which columns to show. Common audit log events:
  • Published App / Updated App / Created App — Studio operations
  • Created Data Feed / Updated Data Feed — Data Feed editor operations
  • Saved shortcuts — Share URL slug change
  • Invoked Dimension Action — someone approved an action run from an app (Approving actions)
  • Created / Tested / Published Dimension Action — Action editor operations
  • Created User / Updated User — User Management operations
  • Set Default Workspace / Updated Workspace — workspace operations
  • Exported Workspace Items / Get Item Migration Information — Migrate flow
Pair the Audit Log with your SIEM. Every Action invocation, every user change, every workspace edit is recorded here, and the data can be searched on every column.

Request History

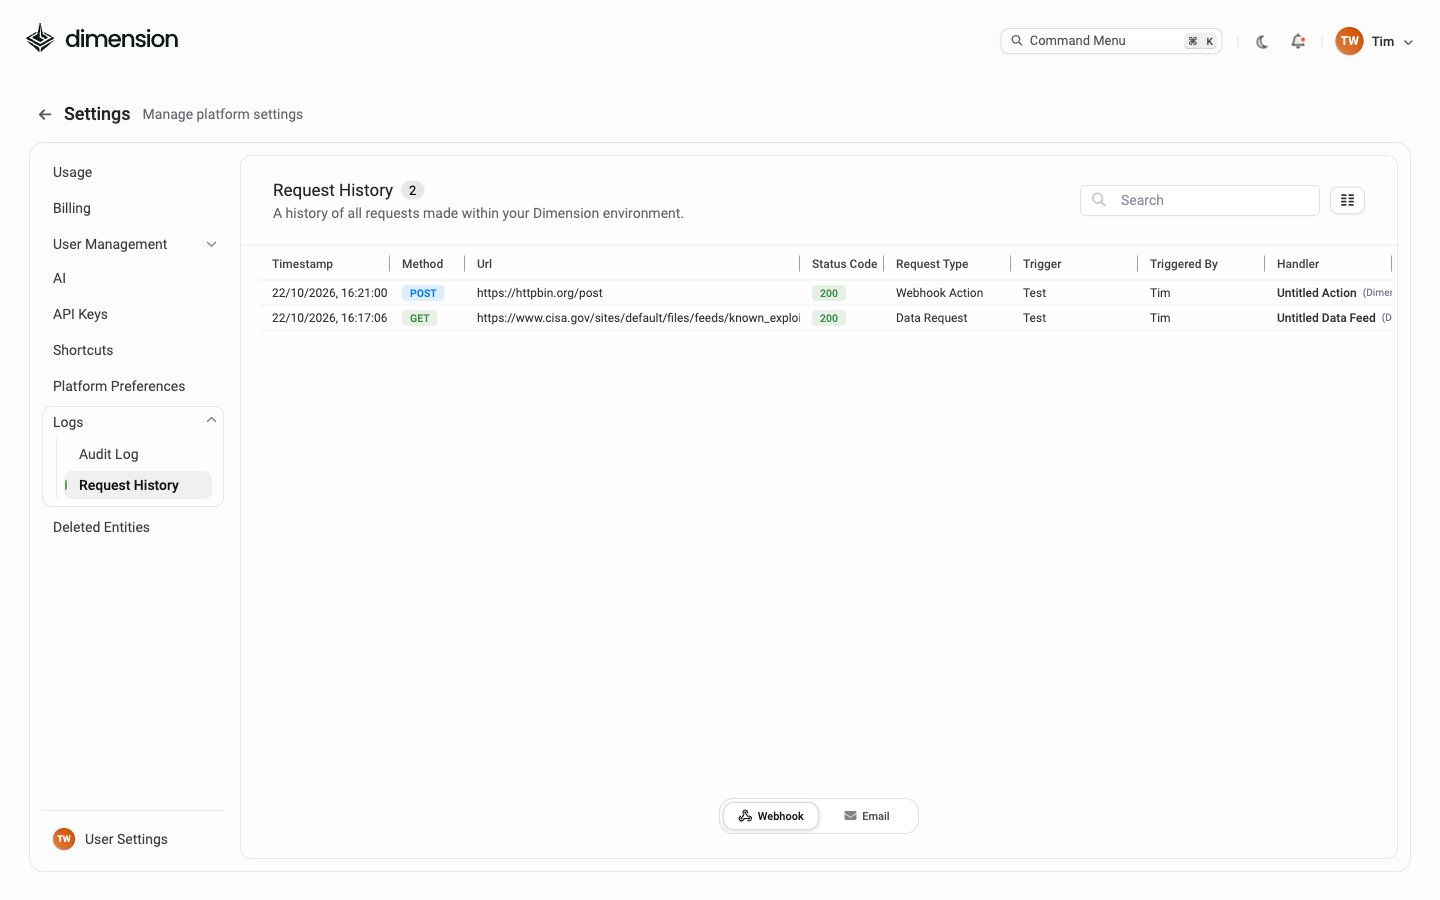
Request History page, A history of all requests made within your Dimension environment, with a Search box and two requests showing Timestamp, Method, Url, Status Code, Request Type, Trigger, Triggered By and Handler: a POST Webhook Action and a GET Data Request, both 200 A history of the HTTP requests made by your data feeds and actions, for debugging integrations. Each row shows: Test runs from the editors appear here too, so you can check a request before publishing.

Notifications

The bell icon in the header opens a Notifications panel showing recent events on your account: Notifications panel listing recent events such as Trigger data feed (Successfully sent trigger message for data feed), Update app (Changes to the app have been saved) and Update data feed (Successfully published data feed), with a Clear link in the top right Common notification types: A red dot on the bell indicates unread notifications; the Clear link in the panel header dismisses them all.
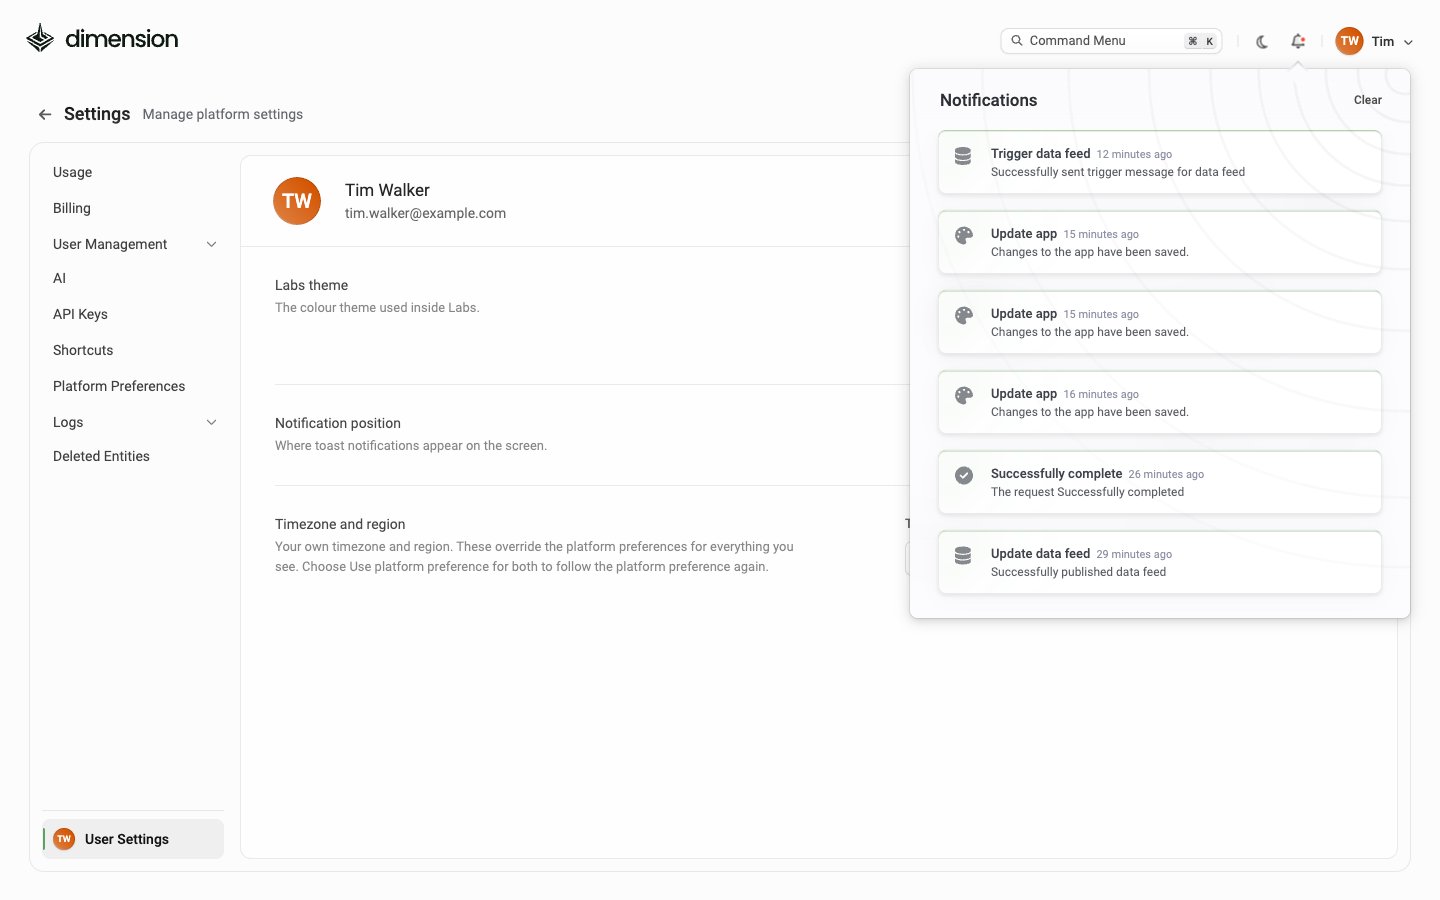
Notifications are per-user, in-session only. They aren’t persisted to the Audit Log — for a permanent record of platform changes, use the Audit Log instead.

Deleted Entities
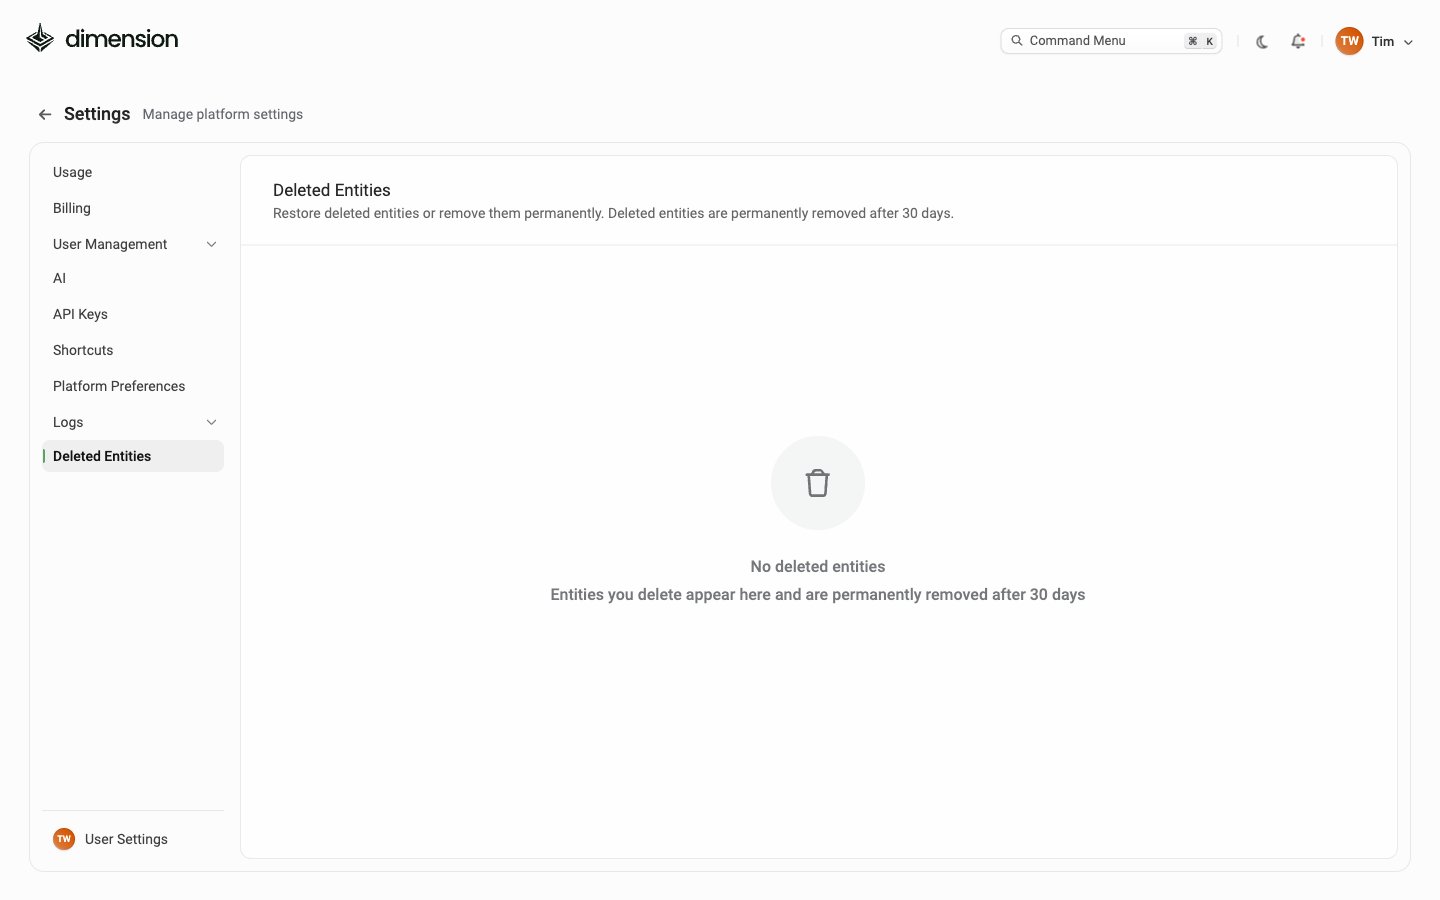
Deleted Entities page: Restore deleted entities or remove them permanently. Deleted entities are permanently removed after 30 days. The empty state reads No deleted entities When you delete a data feed, action, app or other item, it moves here. Restore it, or remove it permanently. Anything left here is removed automatically after 30 days.

User Settings

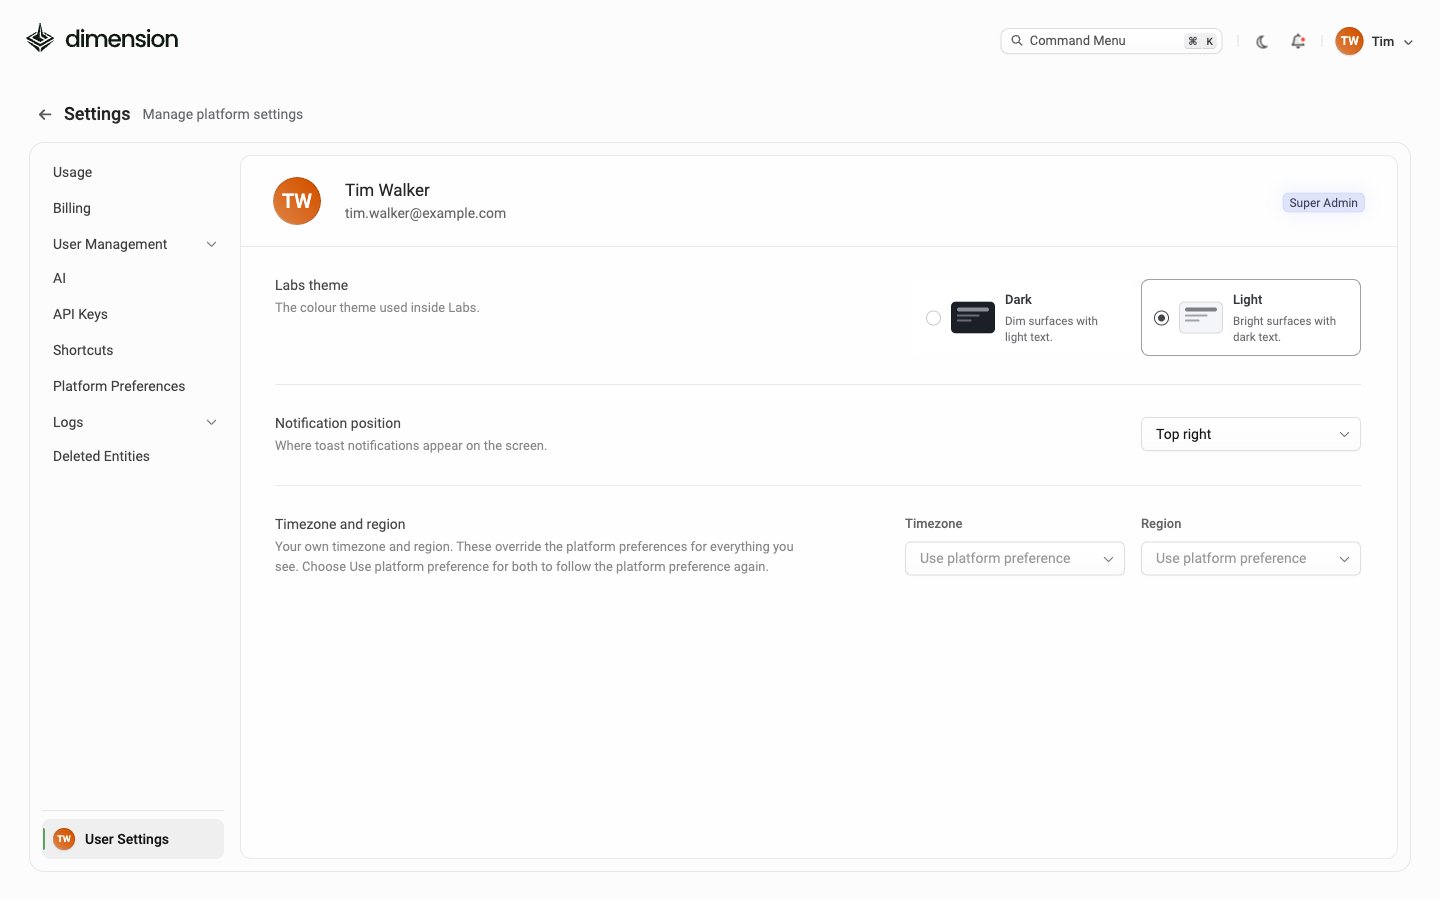
User Settings page for Tim Walker with a Super Admin badge: a colour theme choice of Dark or Light, Notification position set to Top right, and Timezone and region both set to Use platform preference Your own preferences. They don’t affect anyone else.