

What you’ll need
- Access to a Workspace (any visibility level — Private is fine for your first attempt)
- API credentials for a data source (Bearer token, API key, or Basic Auth)
- A link to that source’s API documentation (Composer reads from it)
Step 1 — Open the Data Feed Composer
In Builder Mode, open Connect Data (the database icon in the left rail) and click + New. The first time you do this, a 3-step tutorial overlay walks you through the pattern.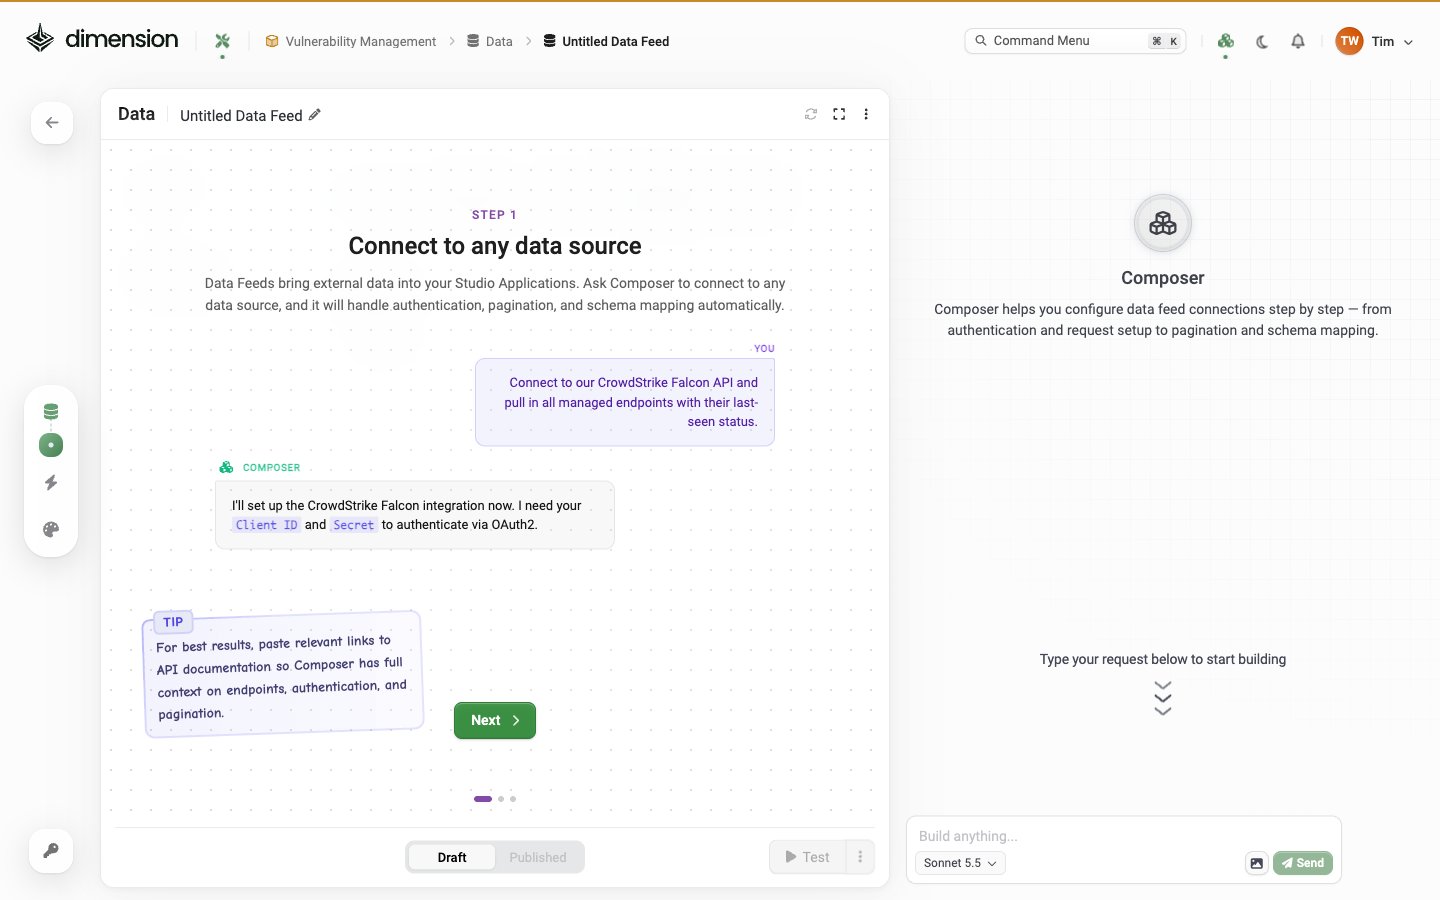
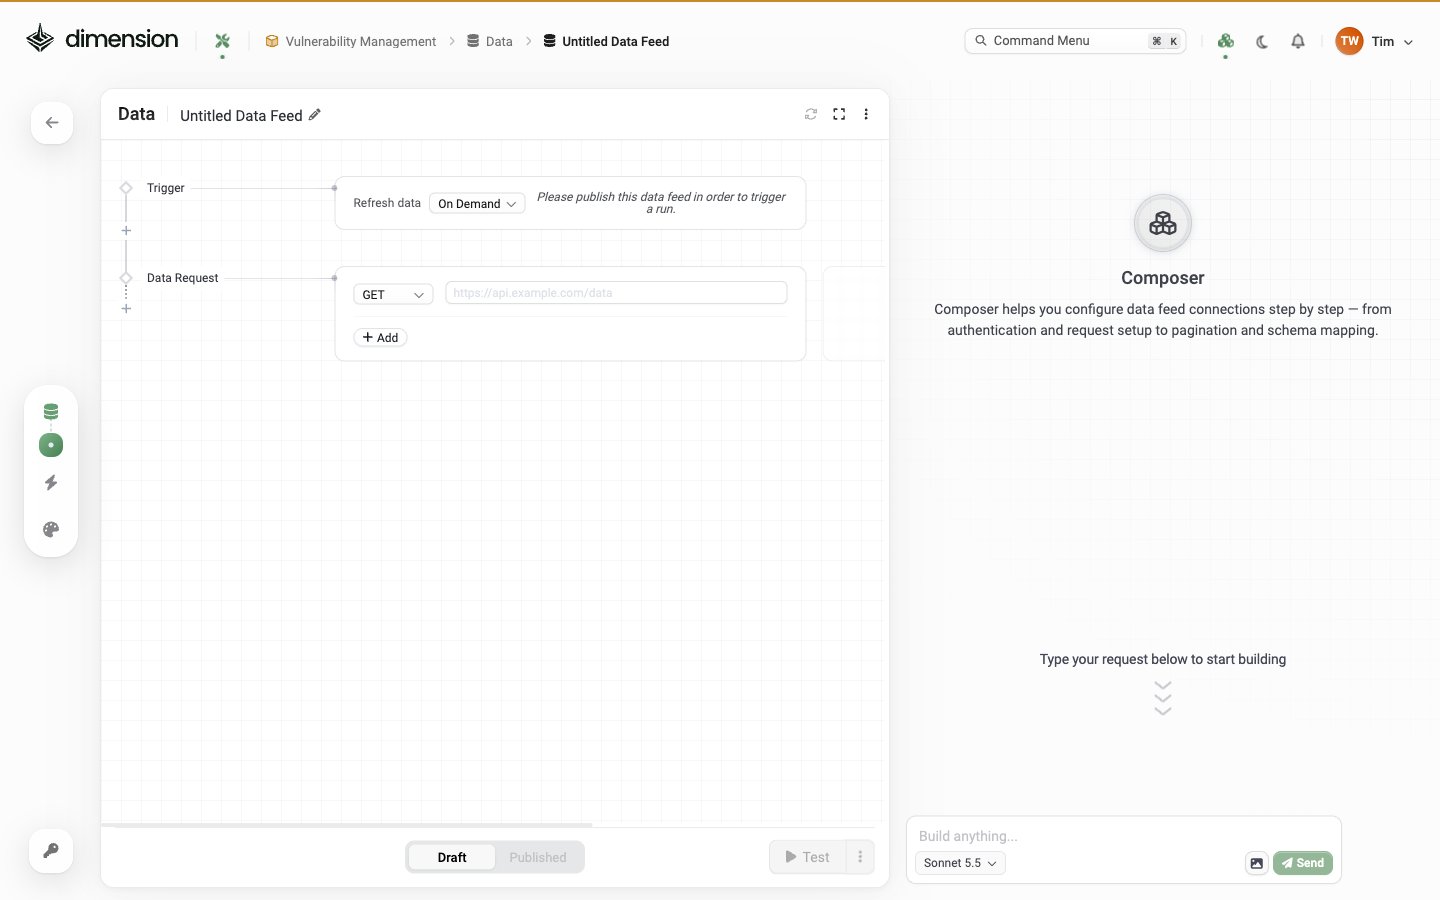
Step 2 — Describe the source
In the Composer panel on the right, type a one-liner about the source. The more concrete you are about endpoint and auth, the better the scaffold:- Sets the HTTP method to GET
- Fills in the URL
- Sets Authorization to Bearer Token
- Configures Pagination to Next Page Link
- Asks you for the actual token value
Step 3 — Enter credentials securely
Composer surfaces a Variables panel with named slots for any secrets it needs: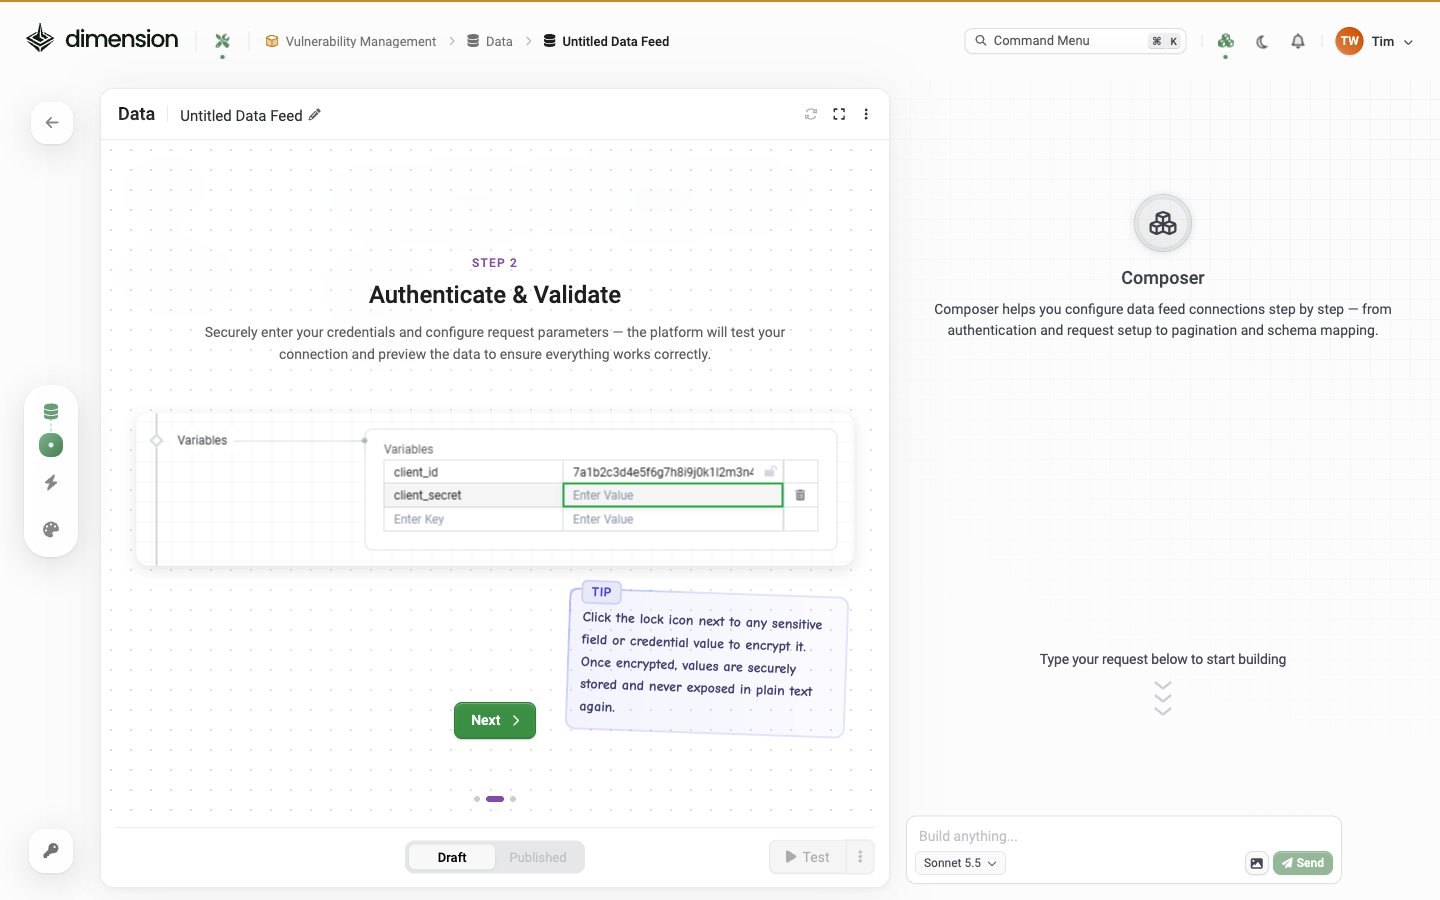
- Paste the raw value into the field
- Click the lock icon next to the field
- The value is encrypted into your tenant’s secret store and the field shows
********
Step 4 — Test the feed
Click the Test button at the bottom of the editor (next to the Draft / Published toggle). The feed runs once against the source and reports back inline:- ✅ On success — the response preview shows status, headers, and the first page of records pulled
- ❌ On failure — an error appears inline (typically: 401 = bad token, 404 = wrong URL, 5xx = source is down)
Step 5 — Refine
If something’s off, iterate via Composer:Step 6 — Configure the schedule
Click the Refresh data dropdown on the Trigger node and pick On Schedule. Then pick a Type: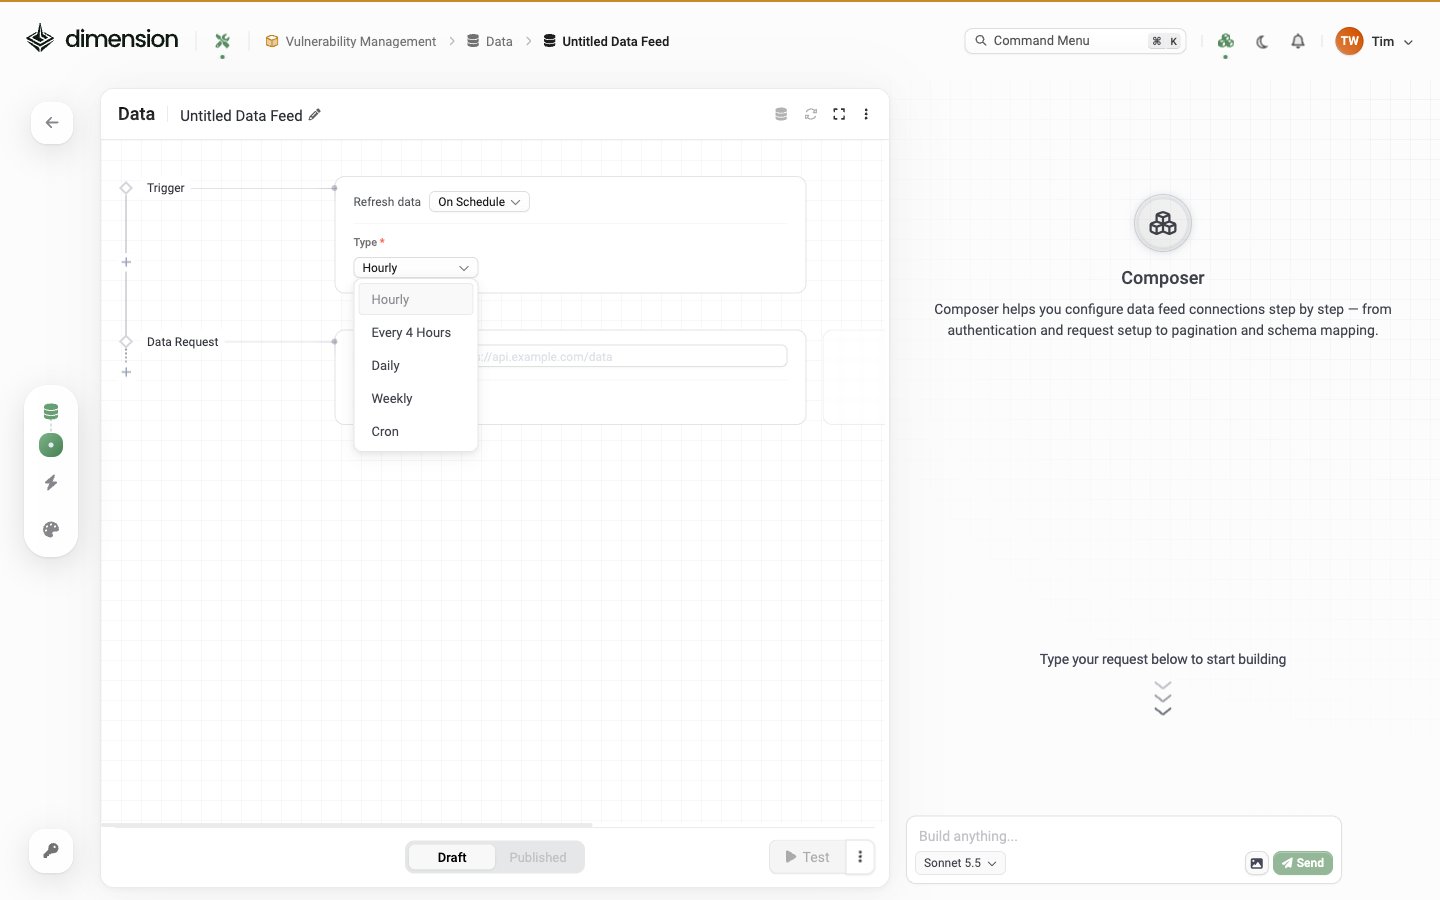
Step 7 — Publish
Click the Published chip at the bottom-left of the editor (it sits next to Draft as a toggle). The feed transitions from Draft → Published. Now:- It will run on the configured schedule
- Studio apps in this workspace can wire it up as a data source
- The Data Feeds counter on the workspace overview ticks up by 1
What to do next
Build your first app
Use the new Feed in a Studio app
Schema & Fields
Refine the field types and capture extra variables for Detail Requests
Sync & Freshness
Tune the schedule and troubleshoot stale data
Data Sources
Auth patterns and HTTP methods in depth